5t4n5-48 Rev 1 – Keyboard Typing Progress – 53 WPM

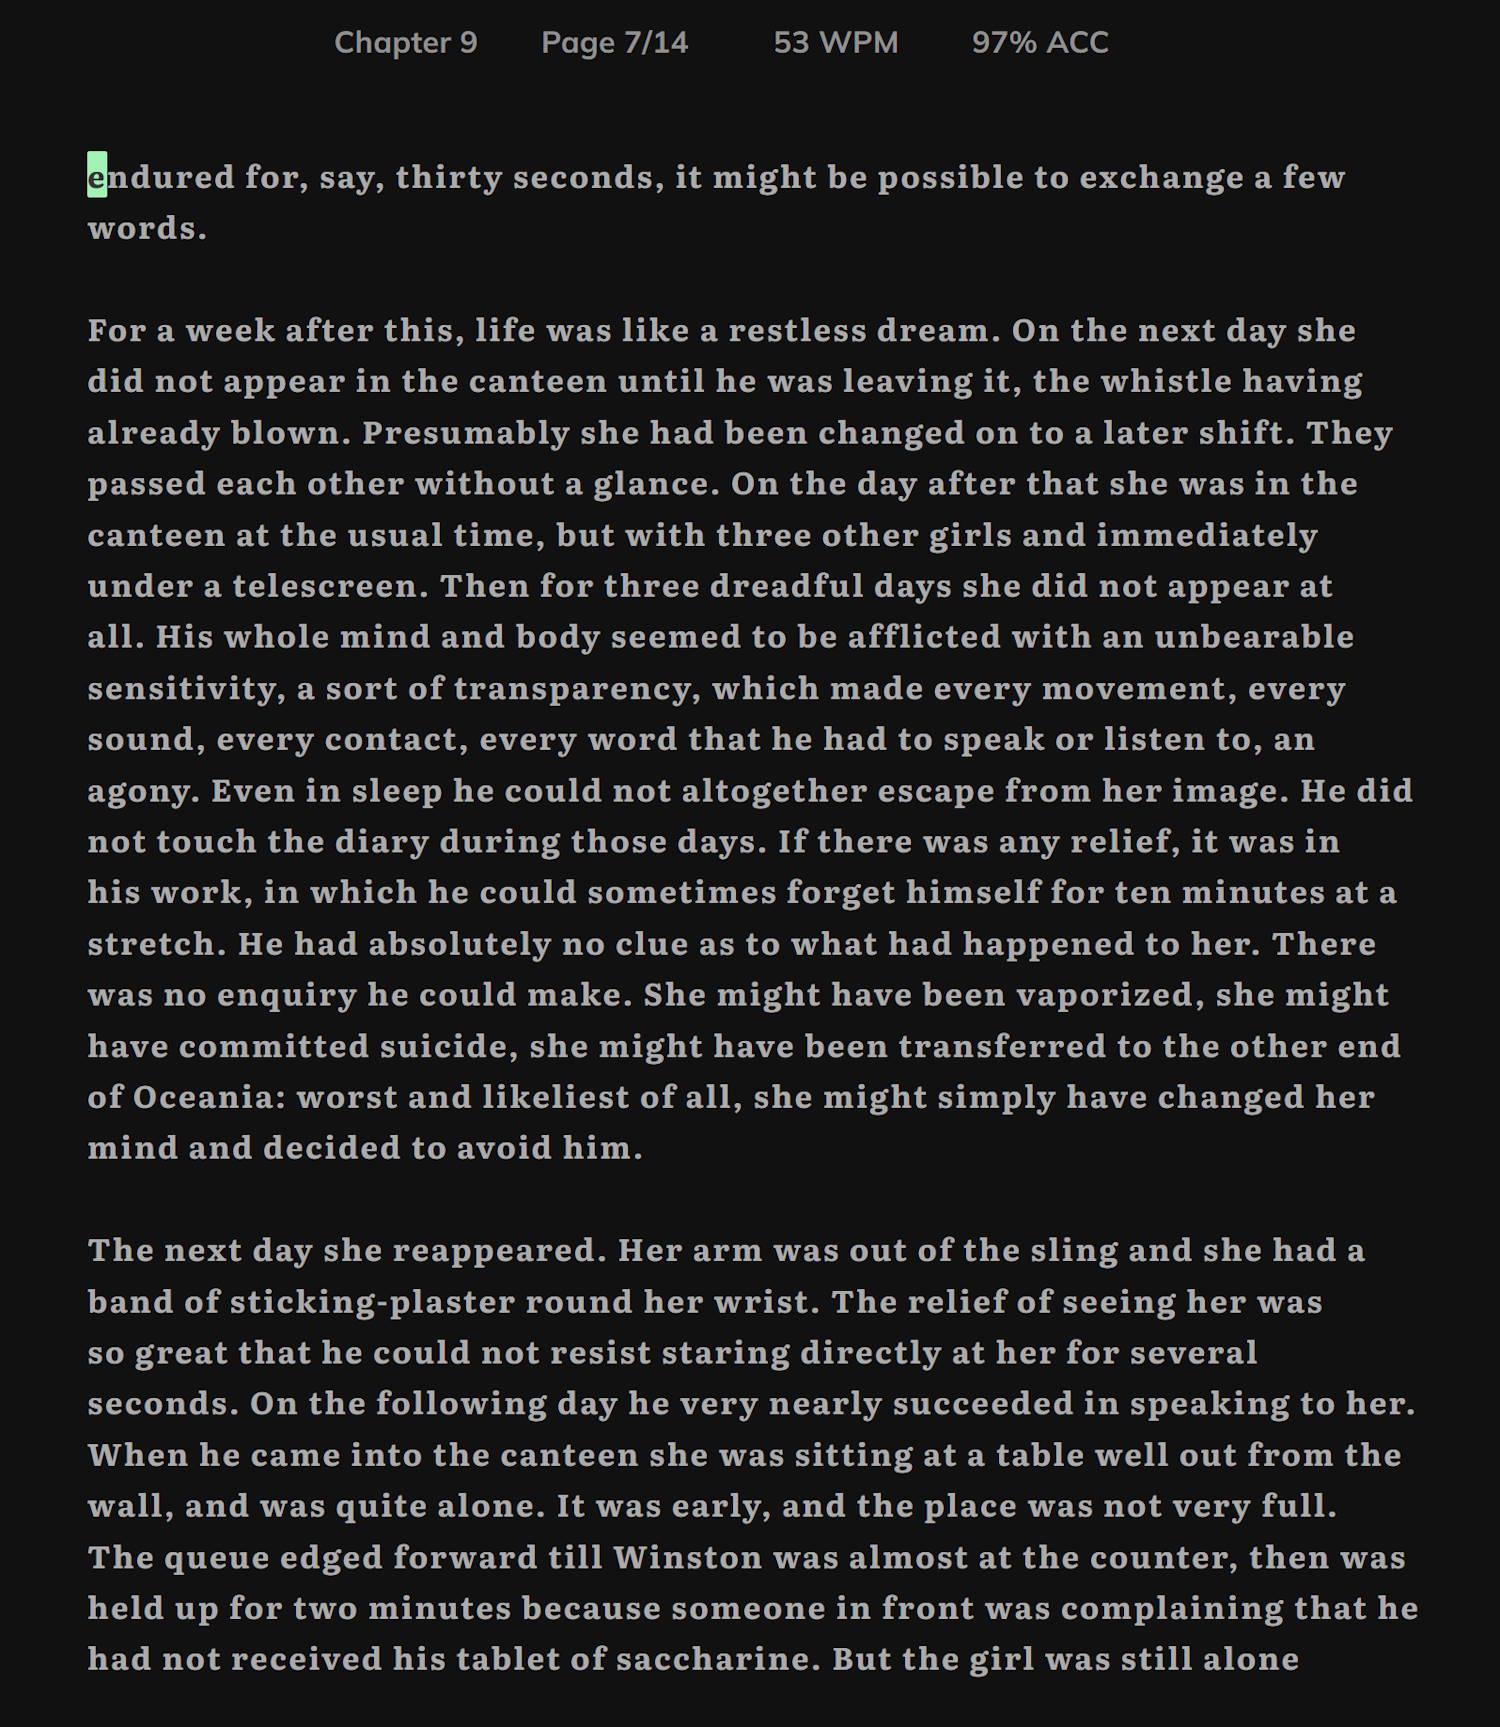
17 days into my new keyboard and i’ve already surpassed my previous speed of 49.82 WPM . . .

5t4n5-48 Rev 1 - Keyboard Typing Progress - 53 WPM

Which is a pretty good speed increase, especially considering that i couldn’t type for the first 7 days of that due to me slicing the end of my thumb half off with a Stanley knife.   It had a big chunky dressing covering it up making it impossible to hit any of the thumb buttons on the left side.   Then once i got the dressing and Steri-Strips off, after the first week, the thumb took a few days longer before it felt under reasonable control again.

The other thing to consider in the speed difference between using Typelit and using Monkeytype is that Monkeytype tends to repeat the same words over and over again, without punctuation, capitals or numbers, whereas Typelit is the full on touch typing experience of typing the whole book out with every kind of typing challenge included.

Ergo, my jump from just under 50 wpm to 53 wpm, while quite a good achievement, clearly demonstrates that this new 5t4n5-48 Rev 1 keyboard is way faster than the original 5t4n5-48, because, while my typing is slowly improving over time, it’s not improving at the rate that this shows.

The accuracy in the Typelit screenshot is a little deceptive also, as it doesn’t change when you correct things.   So if you just ignore your mistakes and keep typing it’ll give you the same accuracy as if you’d corrected all your mistakes — which i find rather silly.   And yes, i do correct all my mistakes as i type, which you can see in the screen shot not having any mistakes in it, so essentially, that 53 wpm is for 100% accuracy.   If i’d just kept typing without correcting my mistakes it would have been a lot faster — but i consider that against the rules of touch typing, because one of the main points of power of touch typing is ones ability to immediately identify and correct ones mistakes while one is typing.

So next time you see someone on Youtube spewing letters on Monkeytype and claiming a typing speed of 100 or there abouts, just remember that that isn’t actually touch typing properly.   Tell them to go to Typelit and show how their amazing keyboard works when the whole gamut of what a keyboard should be able to do is put to the test.

Anyway, i’ll update next when i improve a bit more.

Bye for now!!!

#5t4n5 #colemakdh #mechanicalkeyboards #typelit #5t4n548 #keebs

5t4n5-48 Rev 1 (Rhubarb and Custard)

As the more perceptive of my (potential) 8 billion + readers will remember, a while ago i designed and built my very own fully custom bespoke keyboard, the 5t4n5-48.

While i was more than happy at my first attempt at designing and making my own keyboard, there were a few things that i wasn’t quite happy with and felt needed improving upon.   So i set about the first revision, the 5t4n5-48 Rev 1 (Rhubarb and Custard).

My first task was to improve my CAD skills and design all the acrylic panels i would need cutting in .dxf format in LibreCAD.   And i also needed to learn to design pcb’s in Kicad.

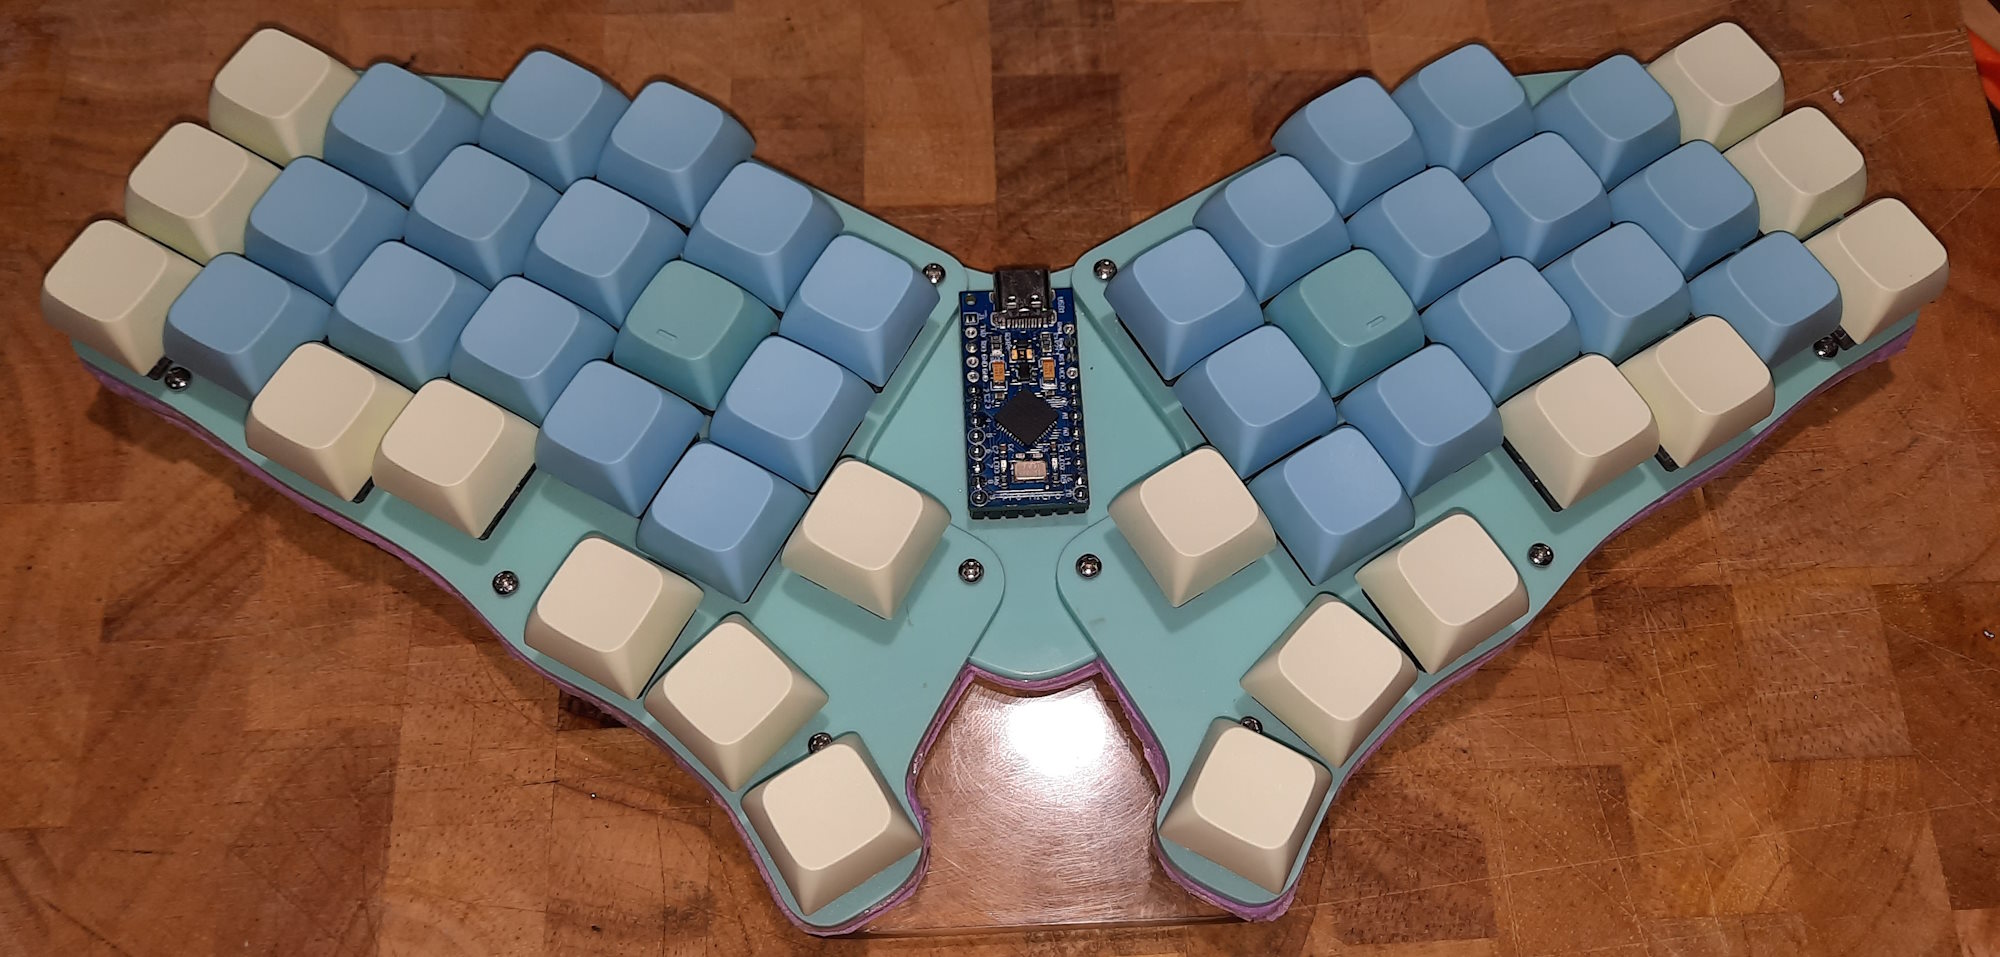
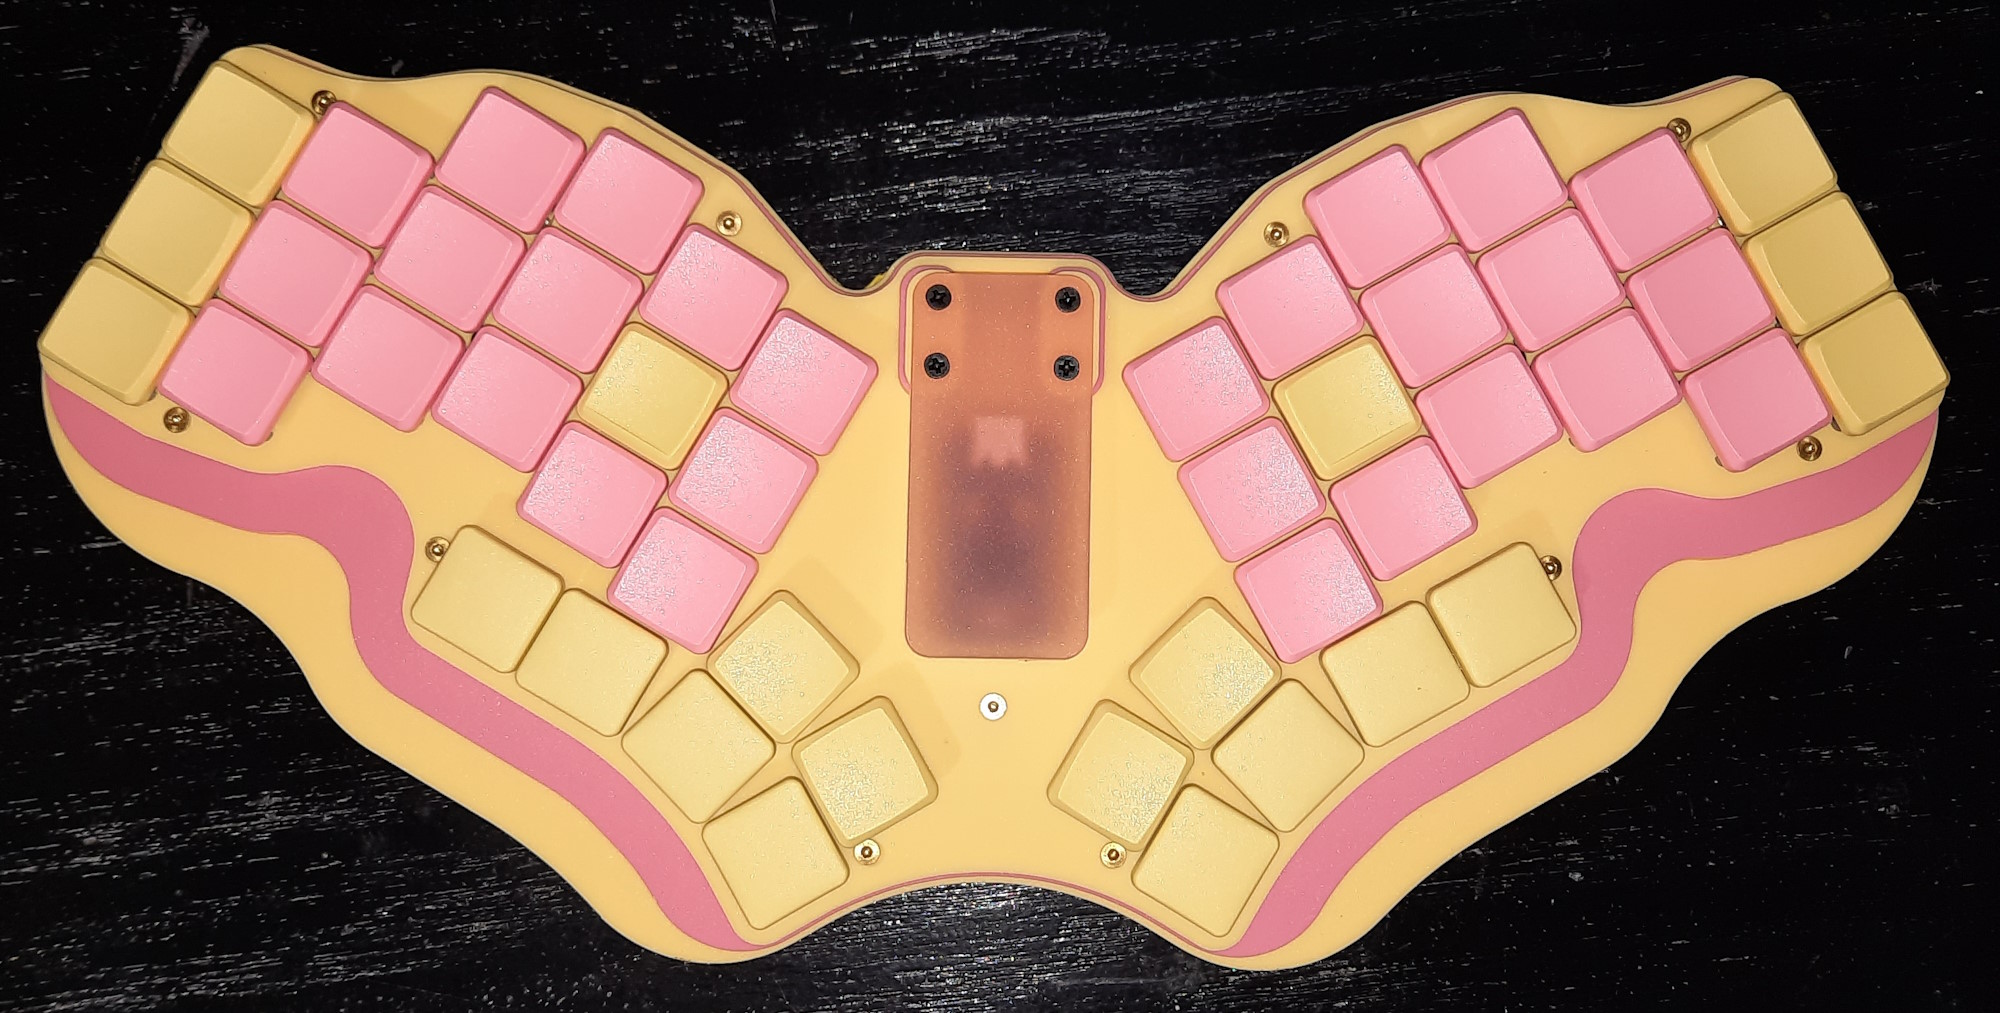
And this is what i came up with . . .
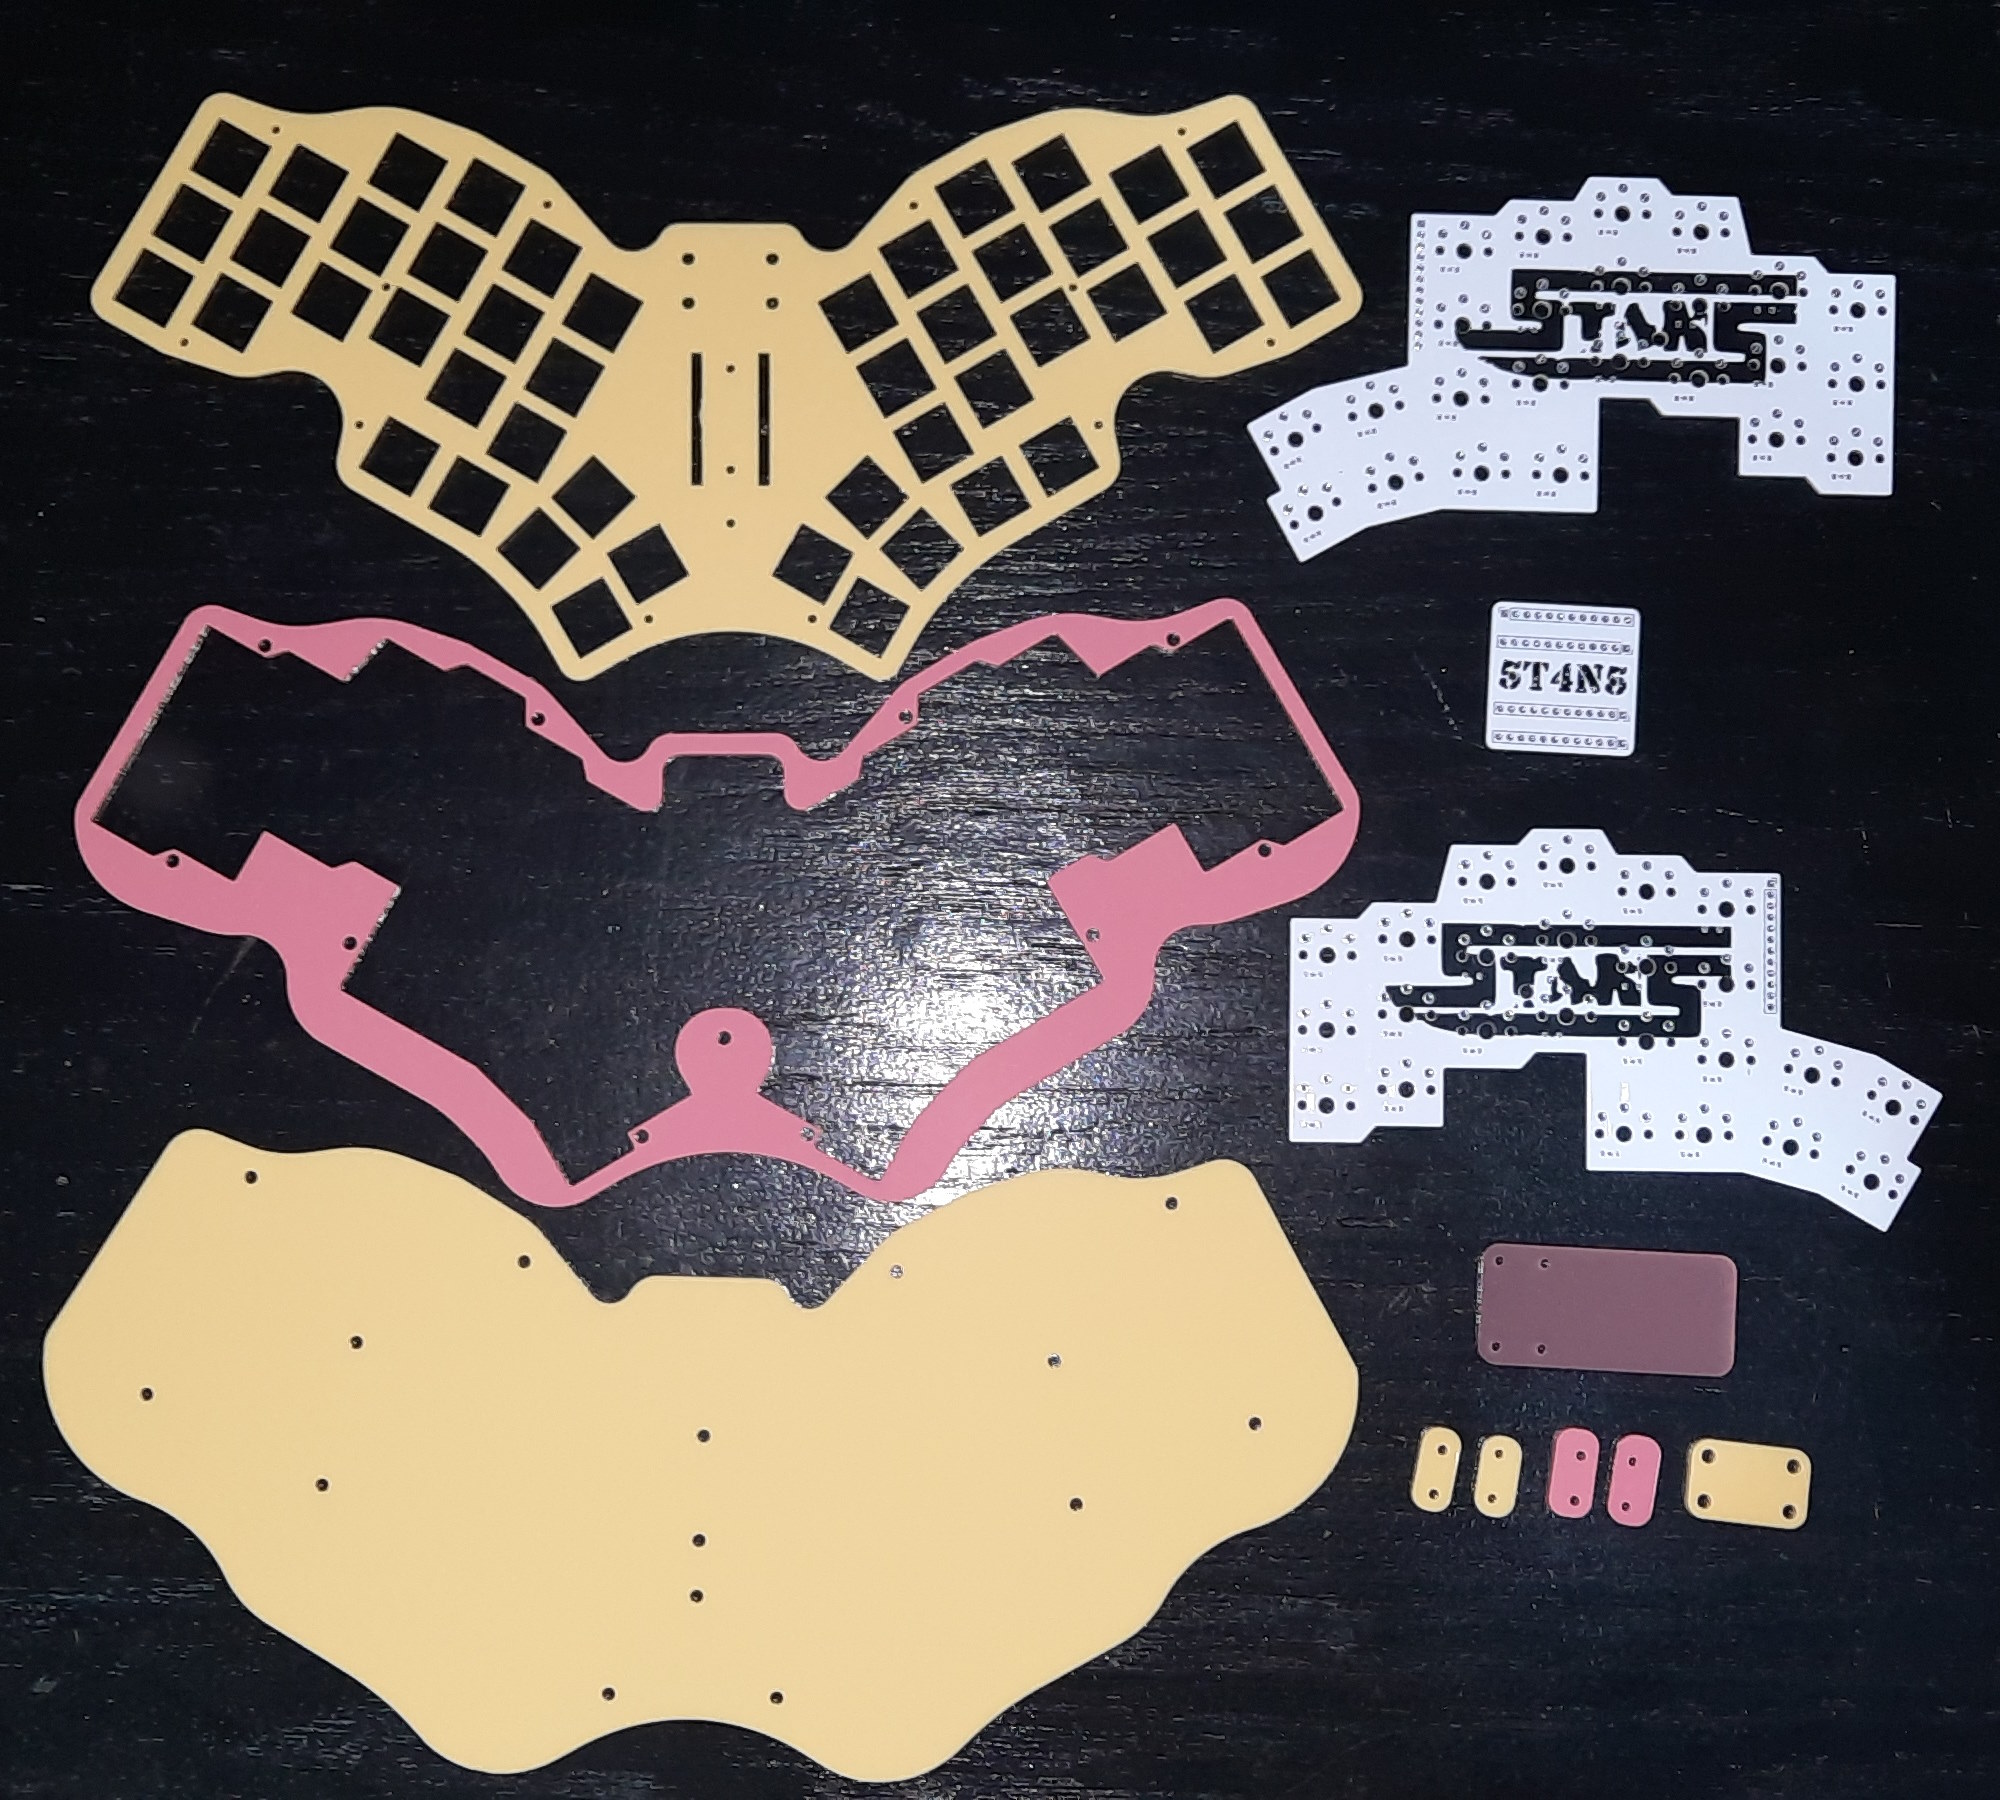
 

The Perspex is 3mm thick “Lemon Bonbon” and “Raspberry Sherbet”, and the cutting was done by Lasercutz.   Lasercutz is a delightful company to work with if you’re looking for any laser cutting to be done, i totally recommend them.

The pcb’s were manufactured by PCBWay, which are also a great company if you’re wanting a small batch of prototype pcb’s making without spending a small fortune.

So with all my bits manufactured and delivered, i set about with the assembly.

First thing was to insert four M2 x 3mm brass heat-set inserts into the bottom plate.   It was important to use 3mm long inserts in the 3mm Perspex so that they didn’t protrude on the upper side as the pcb’s will be directly above these four inserts with bolts going through holes in the pcb’s, and you don’t want brass inserts shorting out anything on the pcb’s.
 

The other holes have M2 x 5mm inserts put into them . . .
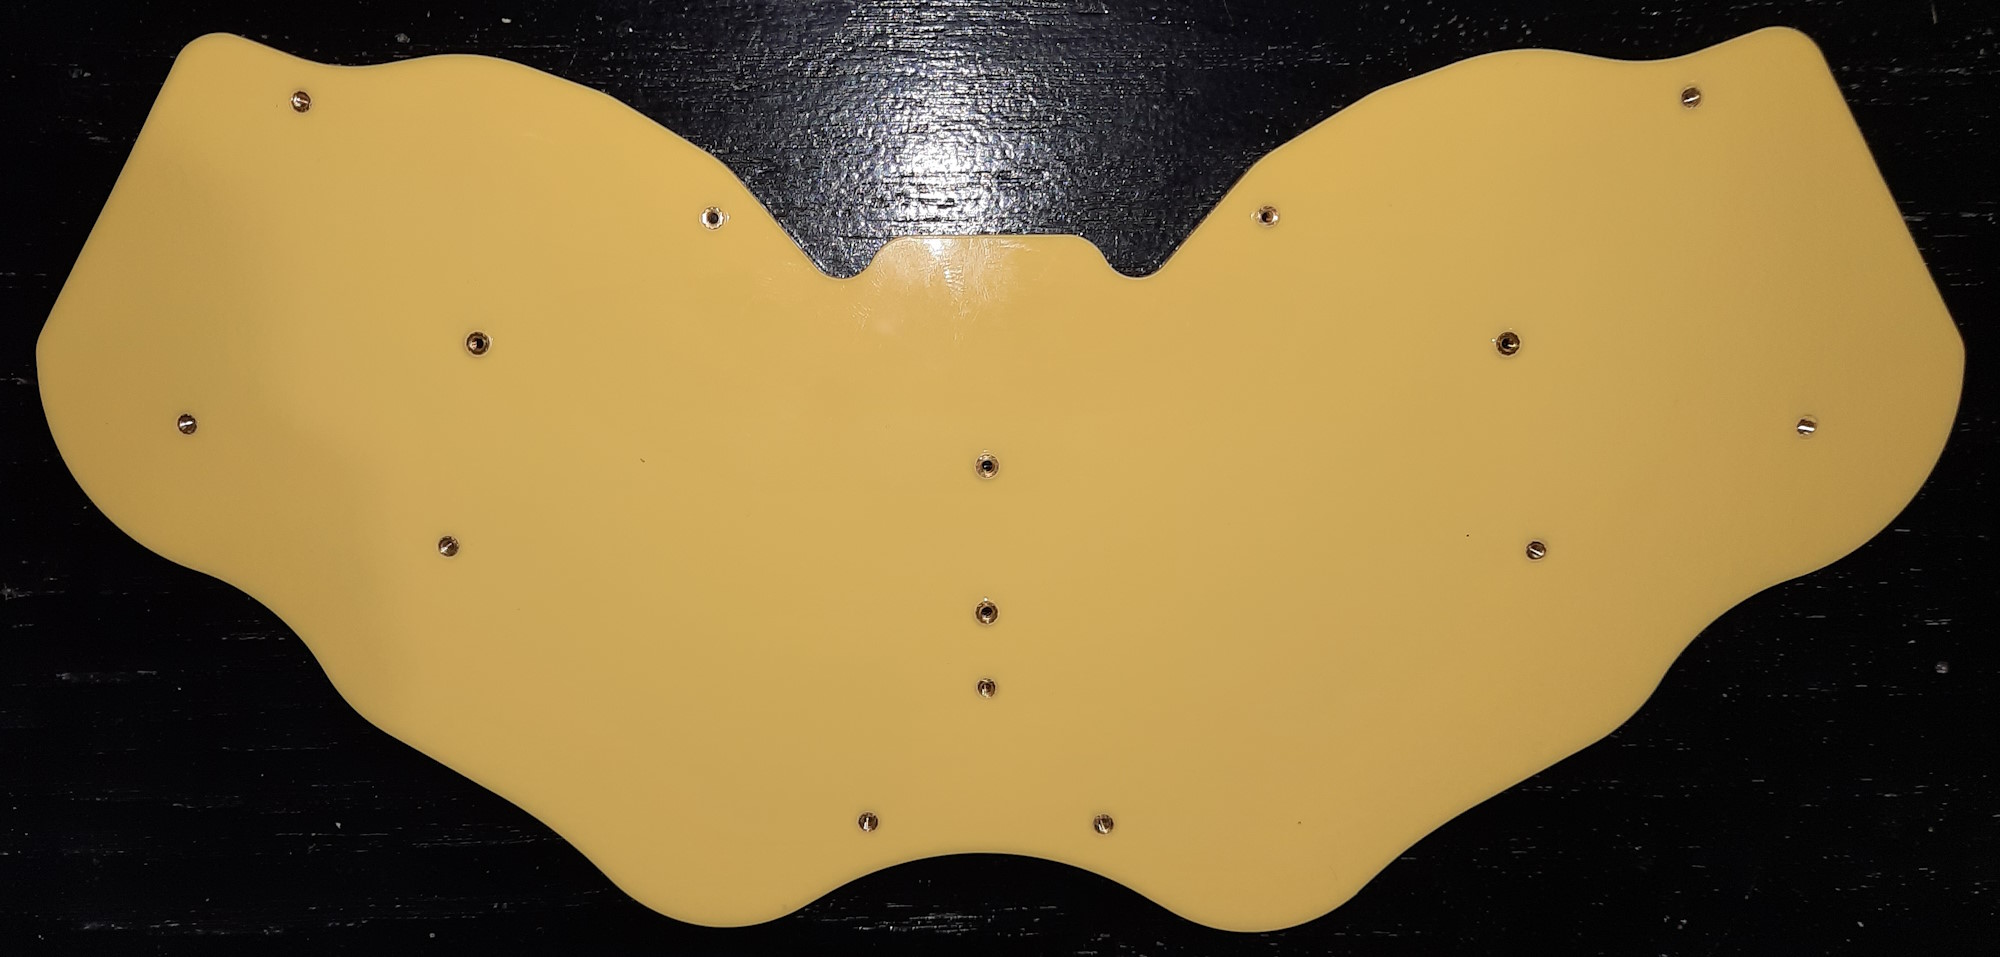
 

. . . but these are done with the centre plate in place so that the inserts stick the two plates together and align them perfectly to each other . . .
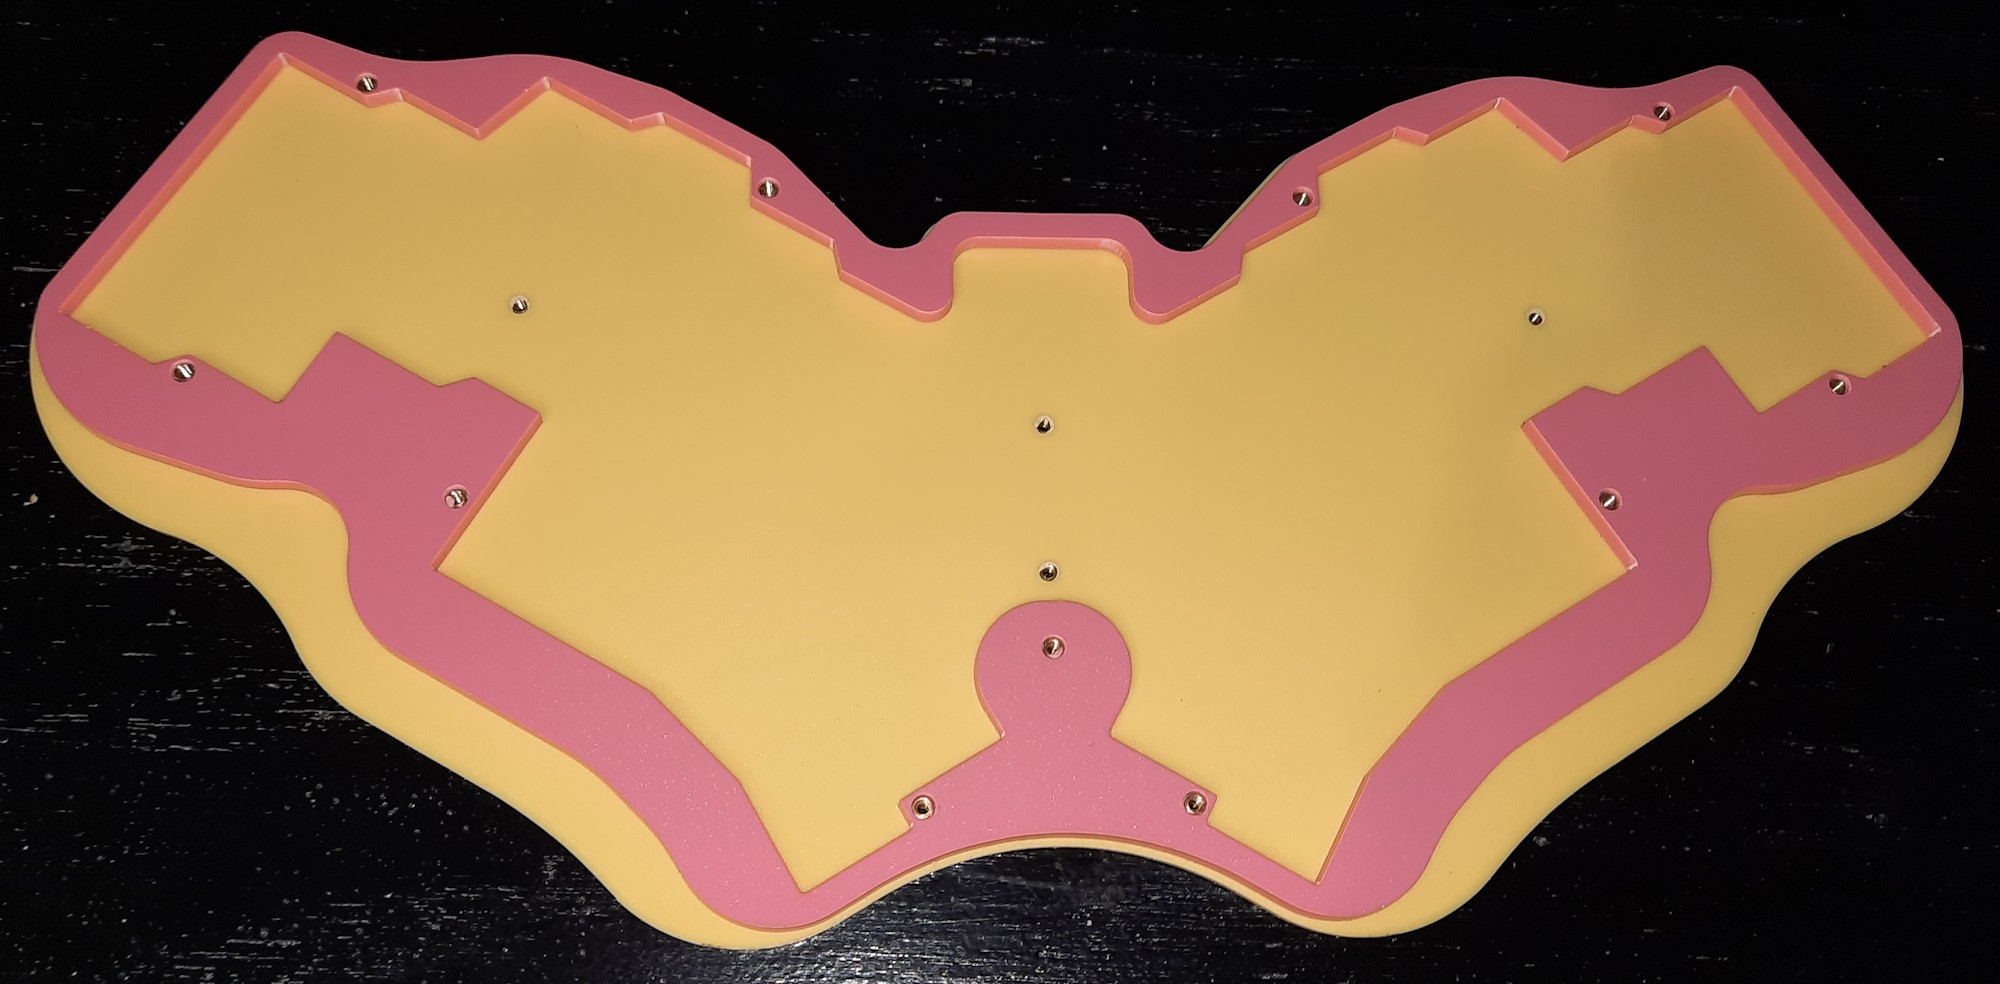
 

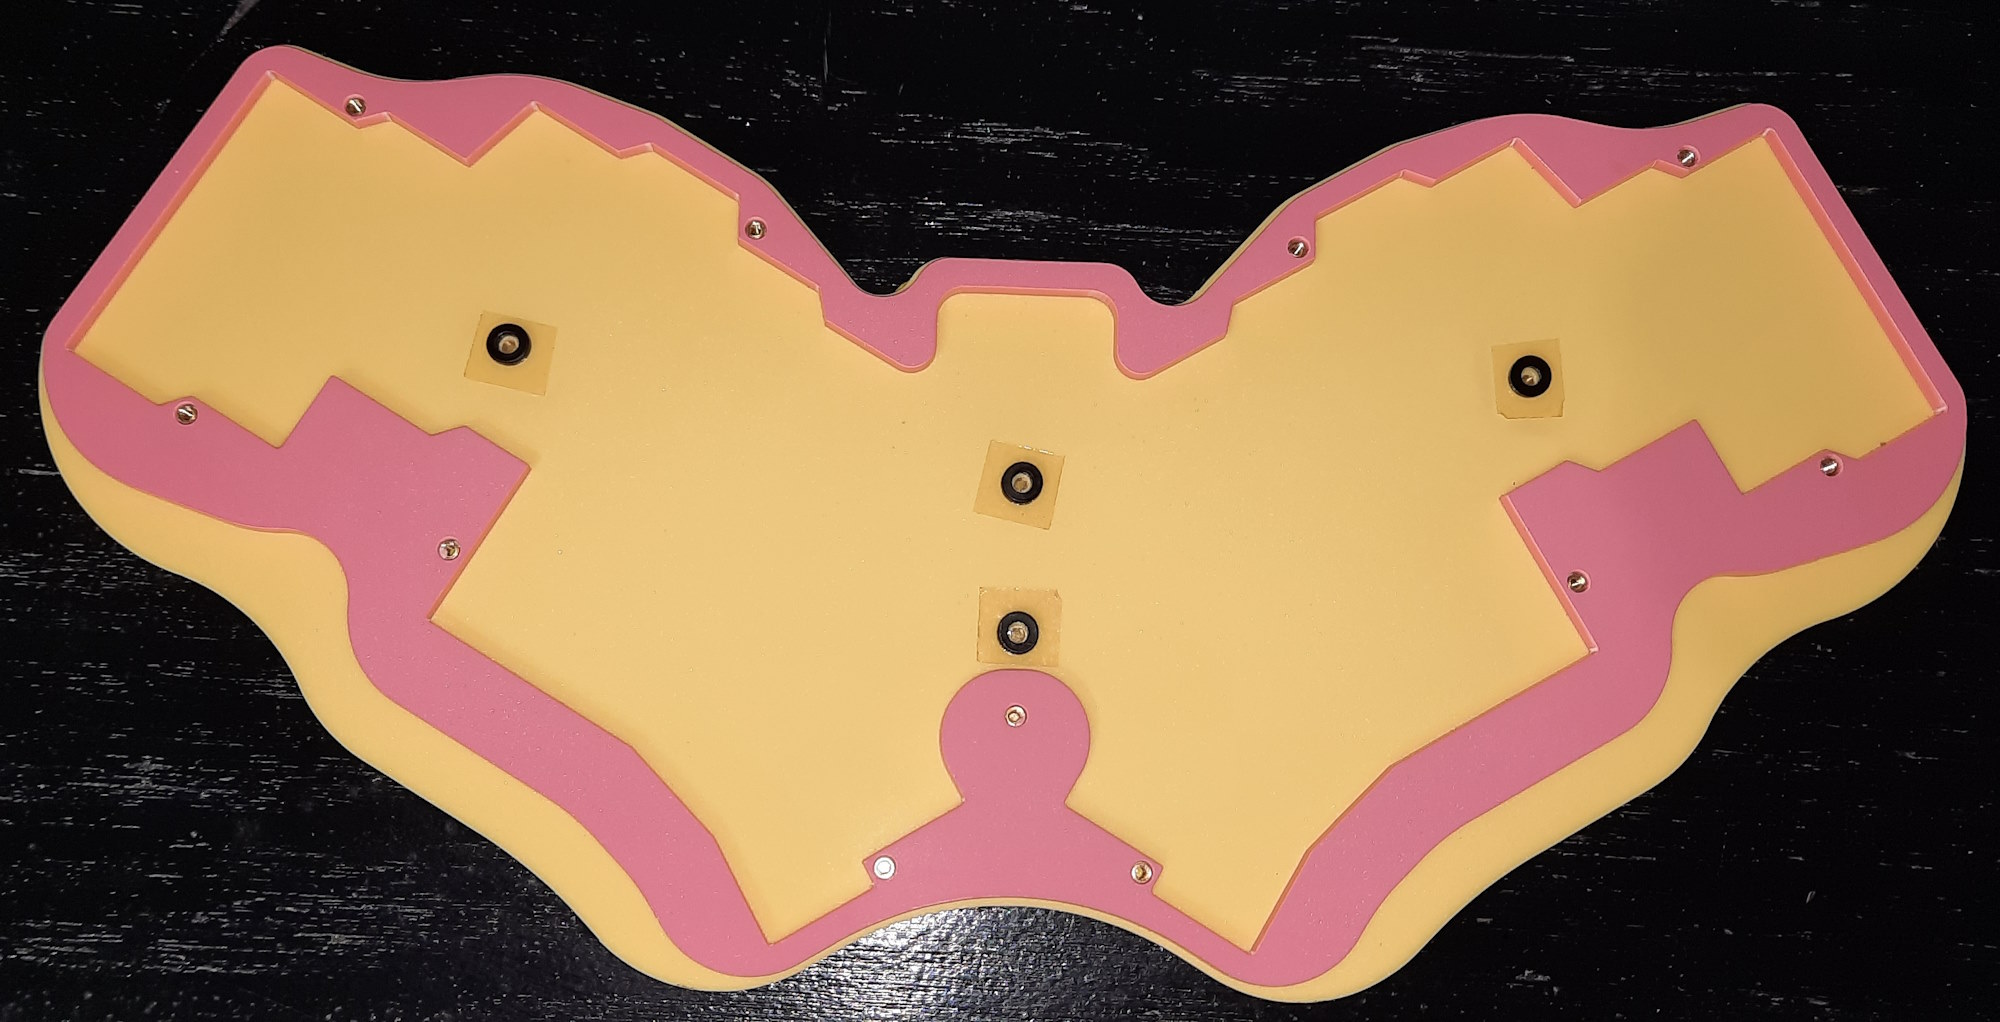
Then add some plastic washers to add a bit of support behind the pcb’s when it all gets bolted together . . .
 

Once that was done it was soldering the surface-mount diodes and the jumper leads onto the pcb’s . . .
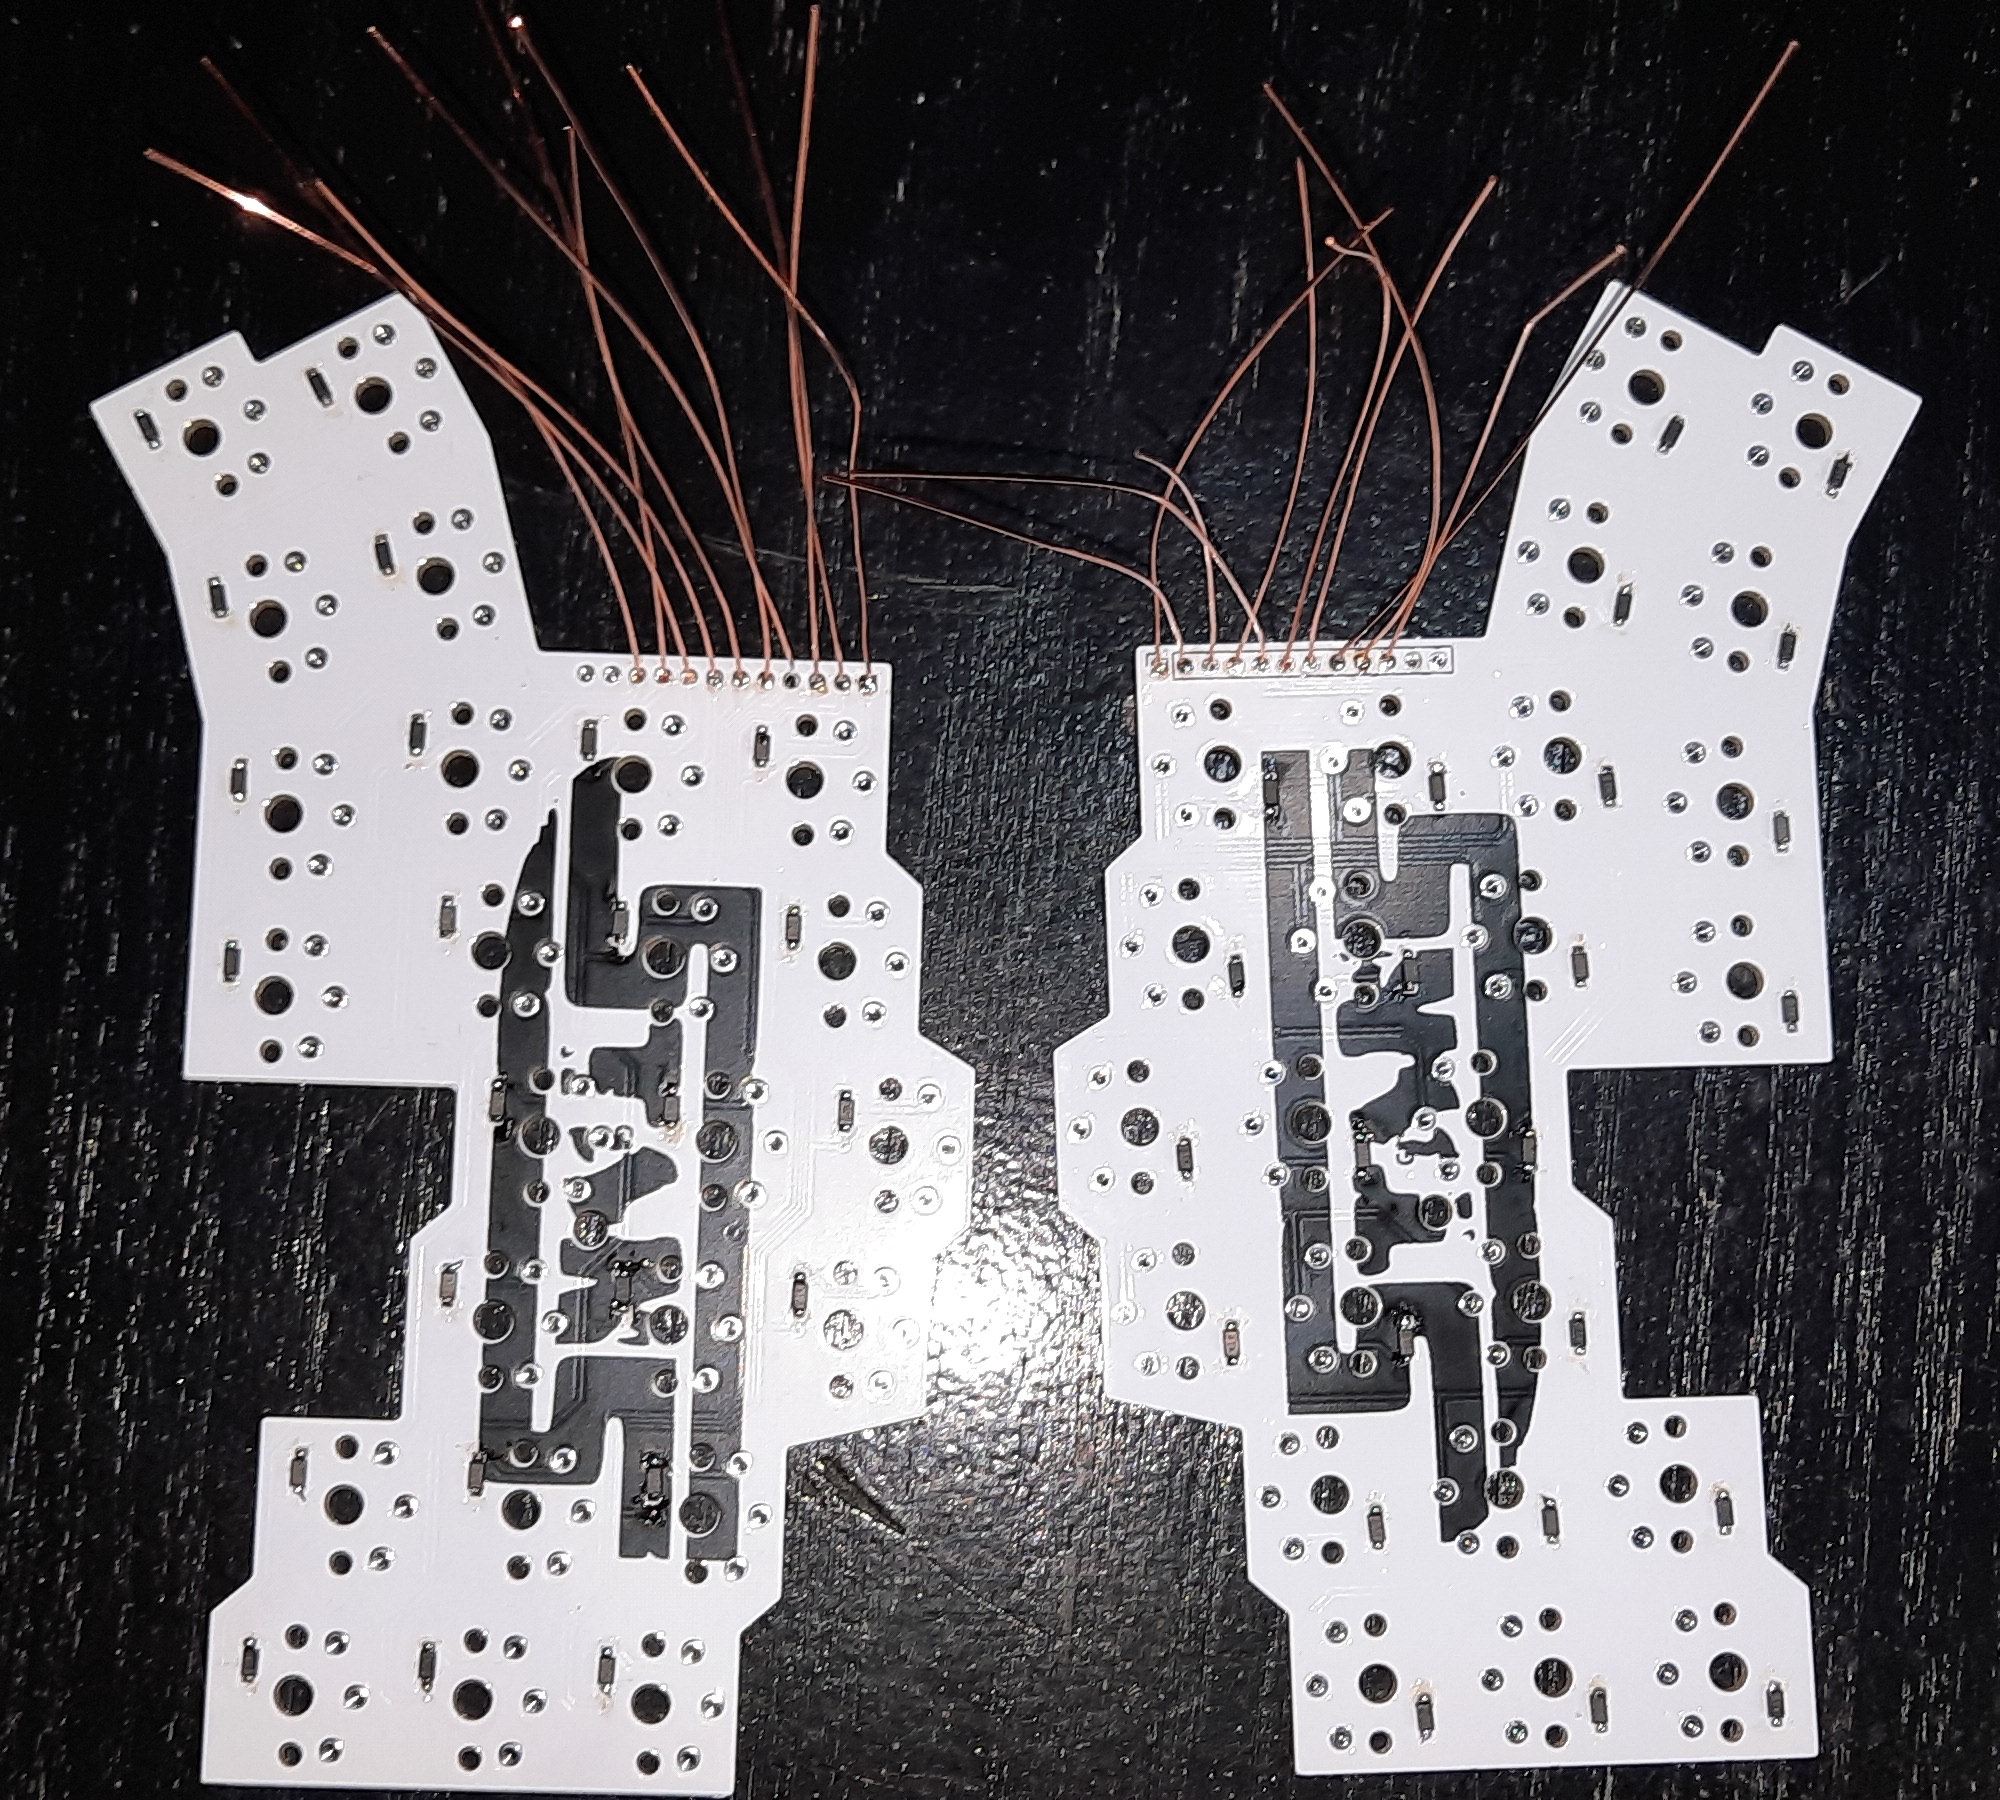
 

And then solder the jumper leads onto the controller pcb . . .
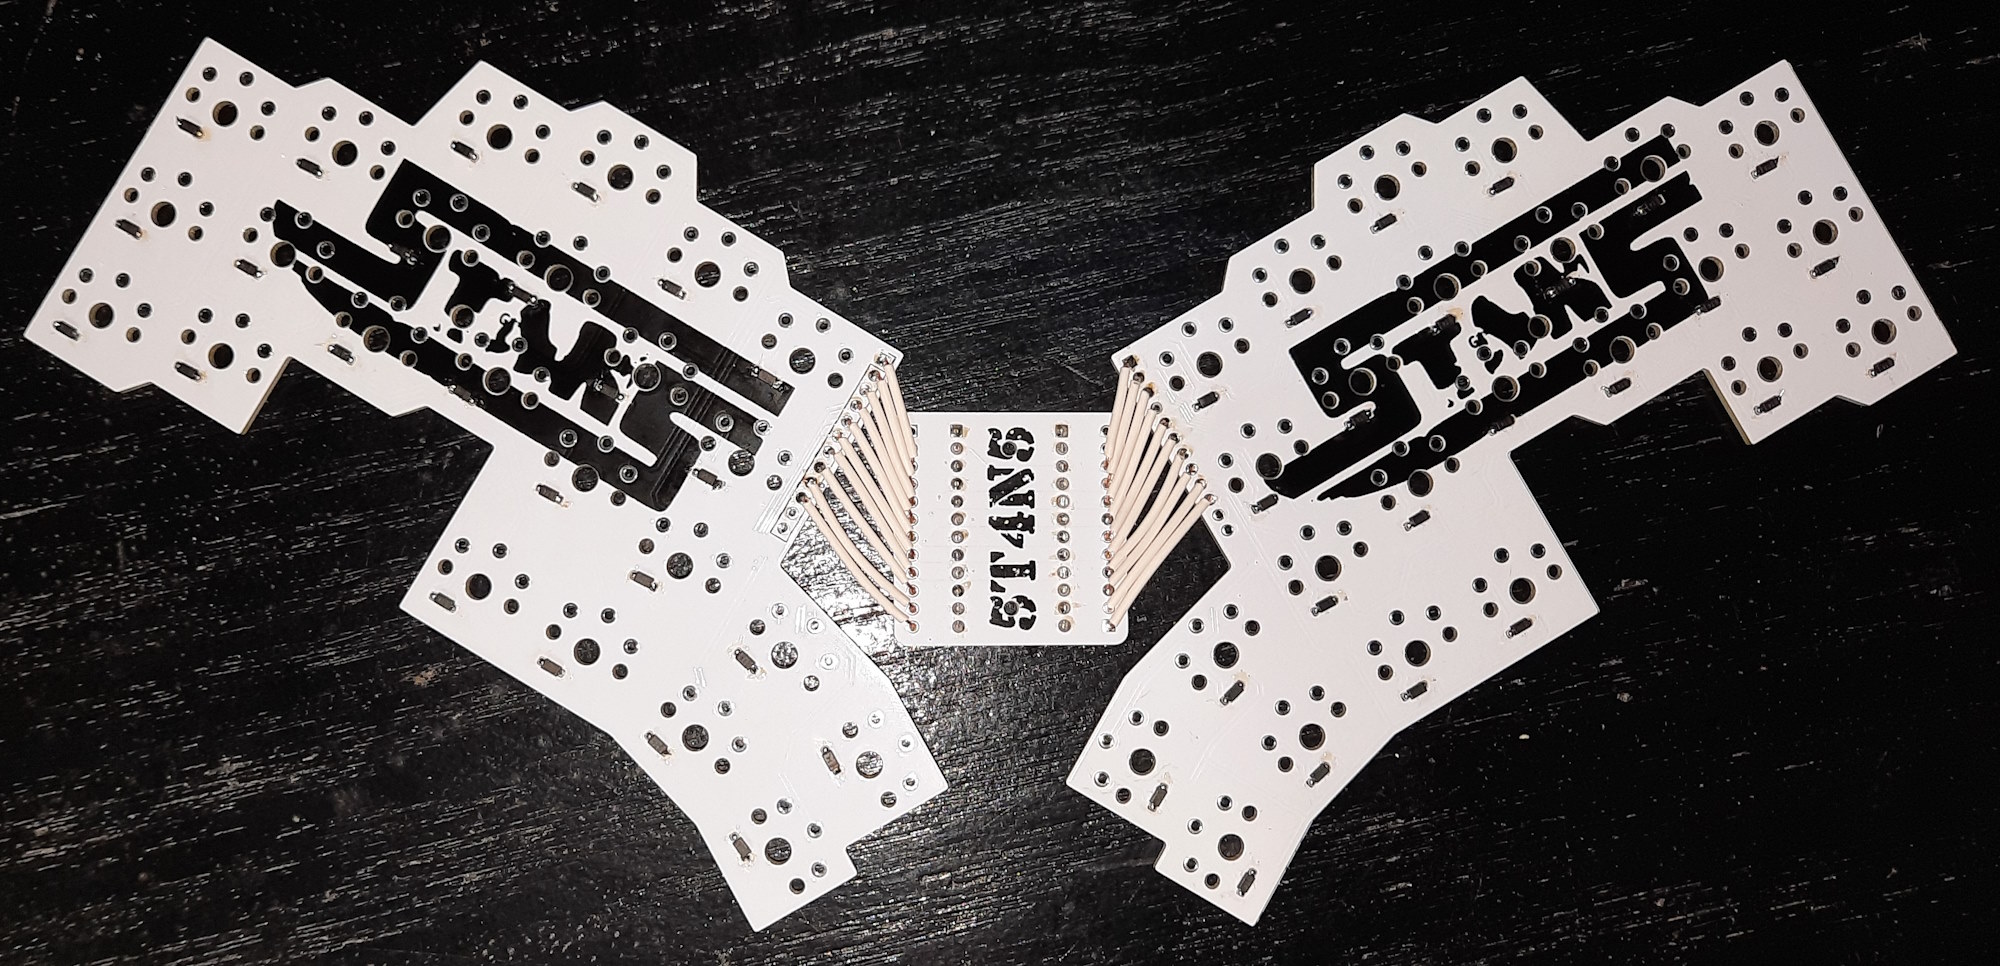
 

Now some of you may be wondering why i didn’t just have one complete pcb made instead of using three seperate pieces: which is a totally valid wondering.   Well, it’s because the minimum pcb’s you can order is 5 and i didn’t want to spend over £70 for one prototype keyboard, so i created a reversable pcb (that works on both sides) for the switches and had 5 of those made, plus 5 of the small controller pcb’s, which was much cheaper.   I therefore have enough left to make one more keyboard at some point in the future (plus a spare if i need to replace one at some point), and maybe once i sort out the QMK thing i might get some full pcb’s made to offer them for sale if there’s any interest — so let me know if you are interested.

Next up was to countersink the 2mm holes in the upper plate which i did with a dremel using a Double Cut Tungsten Steel Rotary Burr bit that i got in a set off Amazon.

Then push all the Kailh Choc Pro Pink switches (which i bought from Mechboards) through the front plate . . .
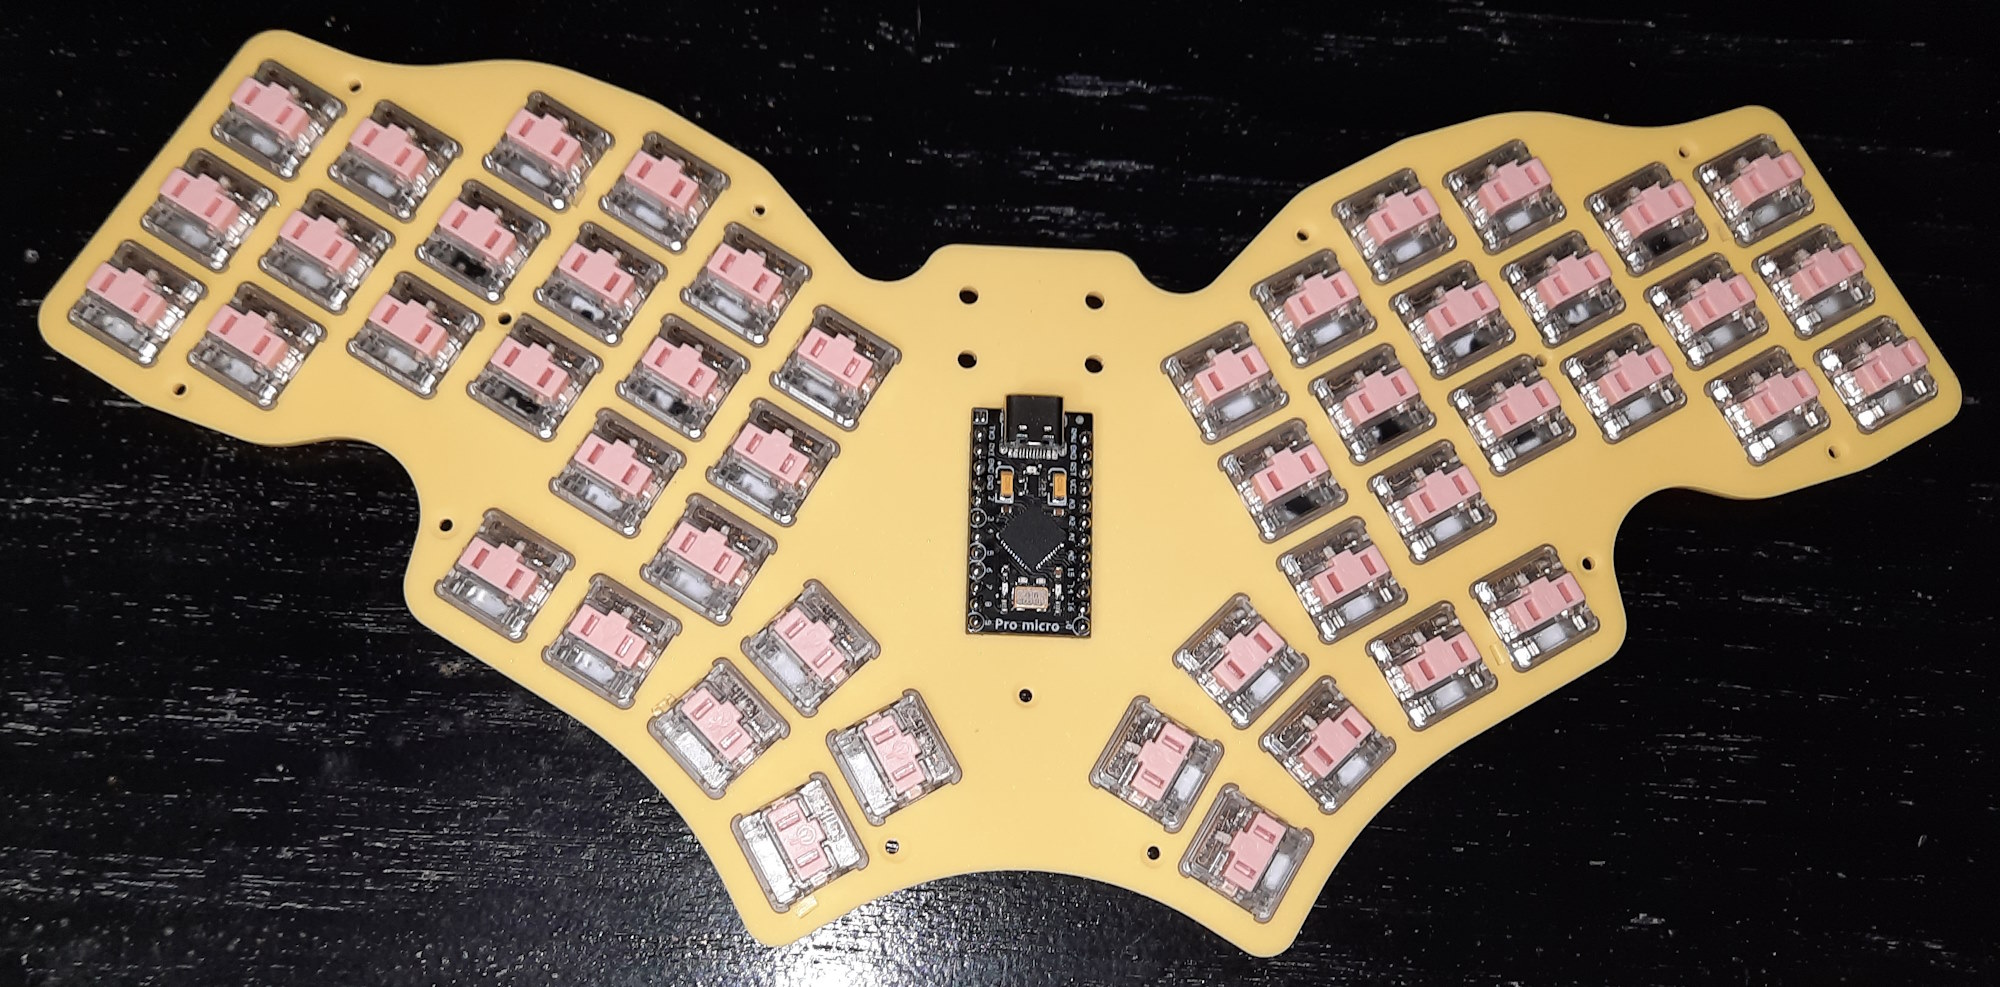
 

And solder them all into the pcb . . .
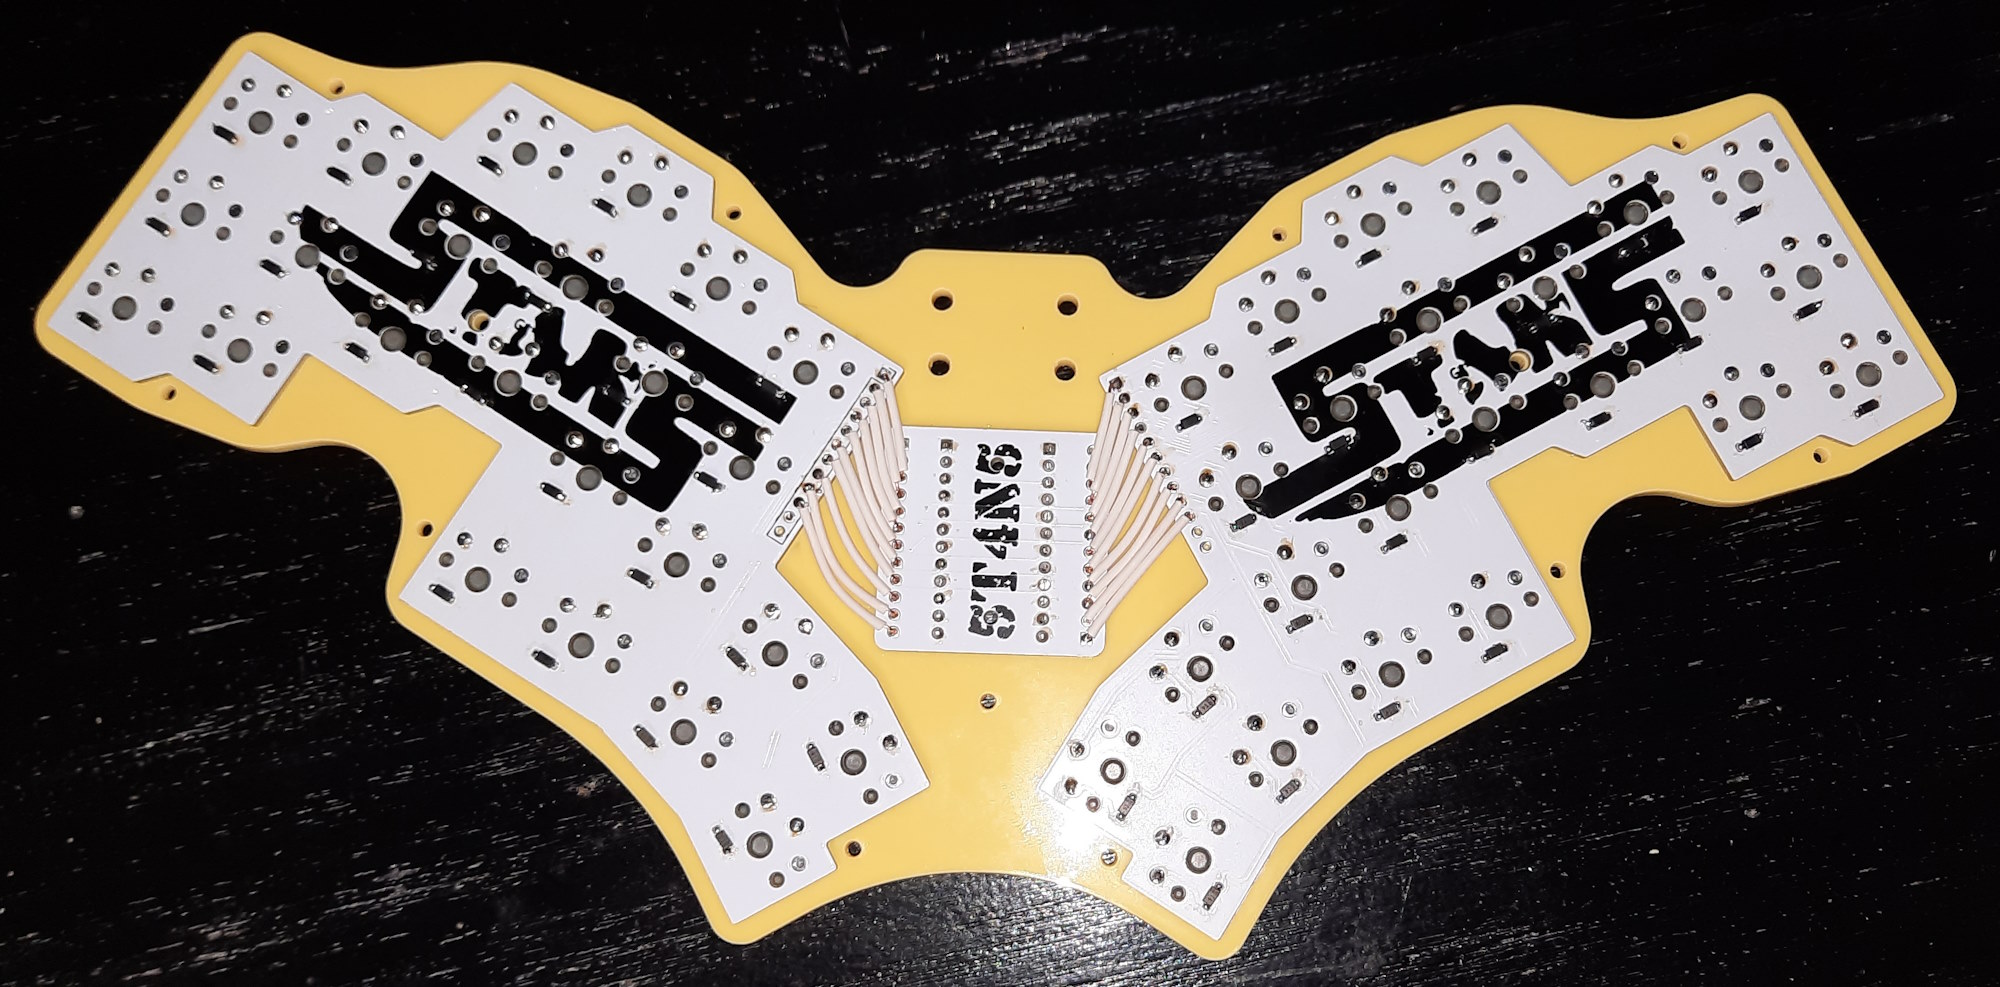
 

The controller is socketed in using mill-max pins and machine-pin sockets (also from Mechboards) — i forgot to take pics of that bit, sorry.

And then all that is left is to bolt it all together and put in the keycaps (which i bought from splitkb.com) . . .
 

And then figure out how to program it.   Which will be the topic of another post because this one has gone on for far too long already.

Until then . . .

Bye for now!!!

#5t4n5 #colemakdh #mechanicalkeyboards #5t4n548 #keebs

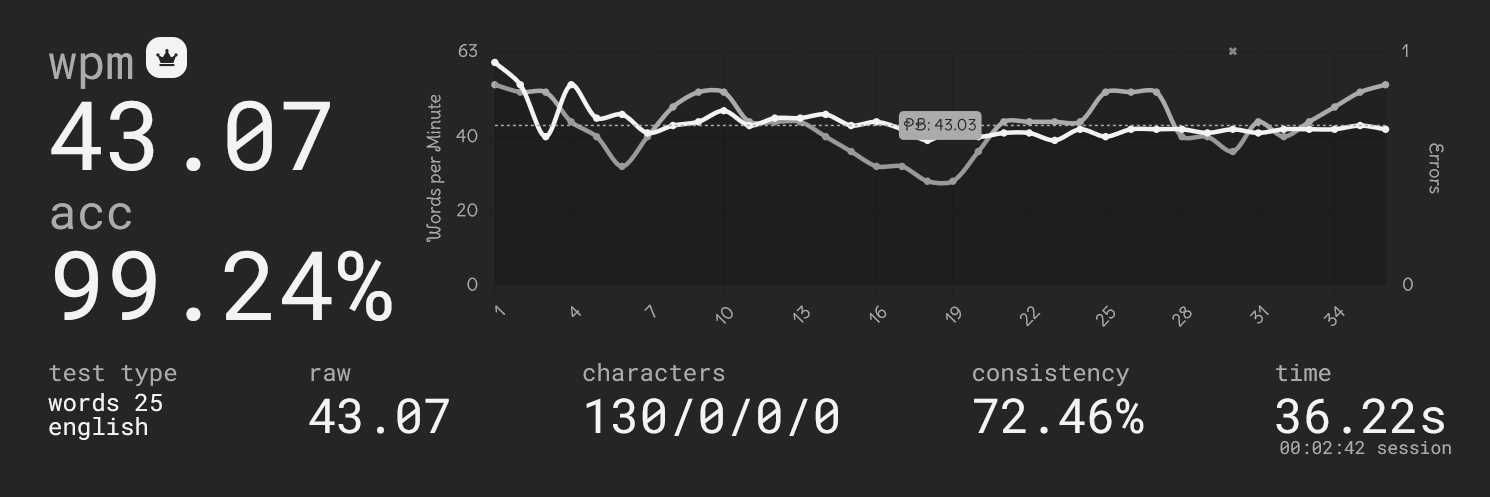
5t4n5-48 Keyboard Typing Progress 49.82 WPM

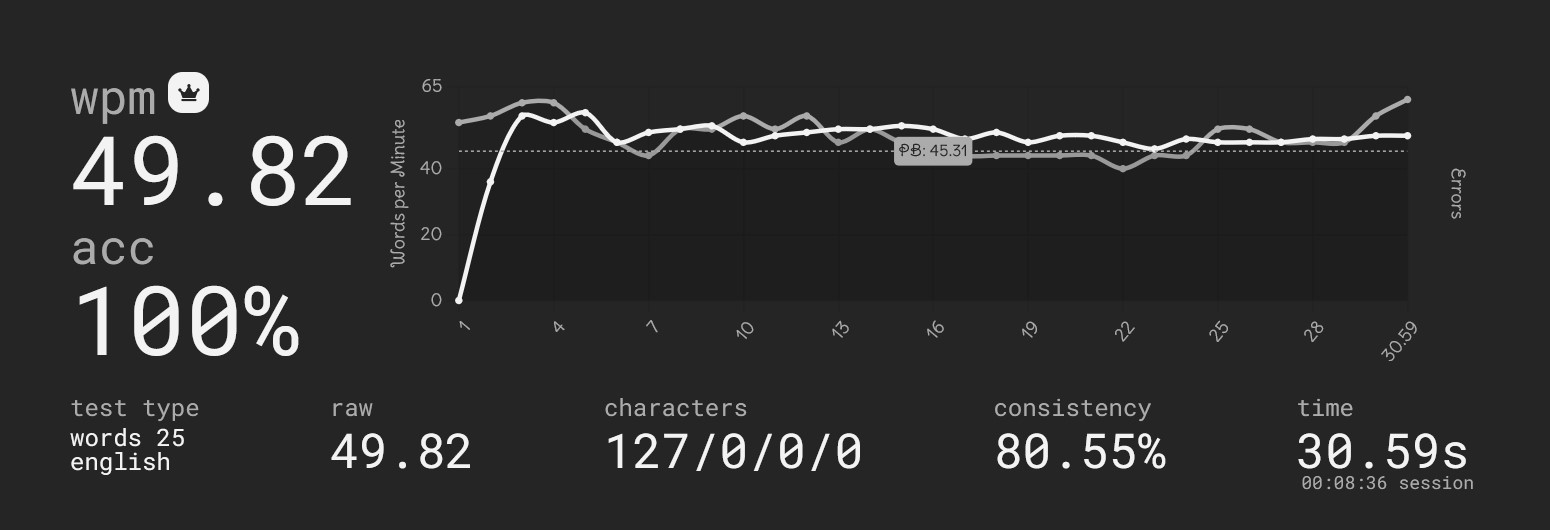
On day 6 of my 5t4n5-48 adventure i managed to nearly hit 50 wpm . . .

5t4n5-48 Keyboard Typing Progress 49.82 WPM

. . . that’s well past my final Lily58 speed.

And 100% accuracy as well.  

This was after i O-ring modded it with two 2.5mm O-rings per keycap.   This sounds like a little overkill, but these are Akko Crystal Silver switches which have a very short activation point, and XDA keycaps which are quite deep.   Basically, if you want to get the speed out of these switches you need to O-ring each keycap well enough that they just activate reliably and then you want them to return as quick as possible.   The other way you can think of it is that every split second that the switch is depressed past its reliable activation point adds up over all the years of typing you will do in your life, ergo, every moment past that reliable activation point is a total waste of your life.

I’ll update next when i improve a bit more.

Bye for now!!!

#5t4n5 #colemakdh #mechanicalkeyboards #monkeytype #5t4n548 #keebs

I Designed and Built My Very Own Custom Keyboard

Unveiling the 5t4n5-48 . . .

5t4n5-48 Keyboard

I had a few issues with the Lily58 that i didn’t quite get on with.   I made the row stagger more pronounced to match my finger length, which really does allow my fingers to relax more.   And i added the extra thumb buttons because i wanted dedicated Delete and Enter keys.

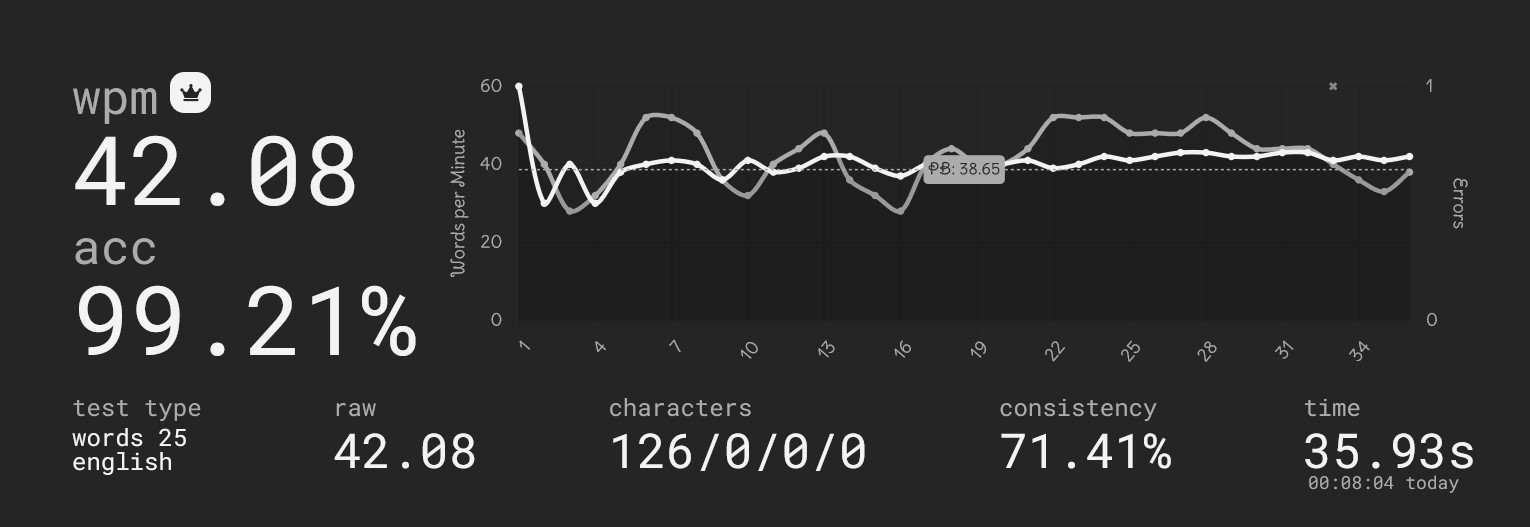
Sadly it lowered my speed a little, but that’s only temporary, and as i can relax more on this keyboard i’m sure that it will ultimately give better speed in the end.

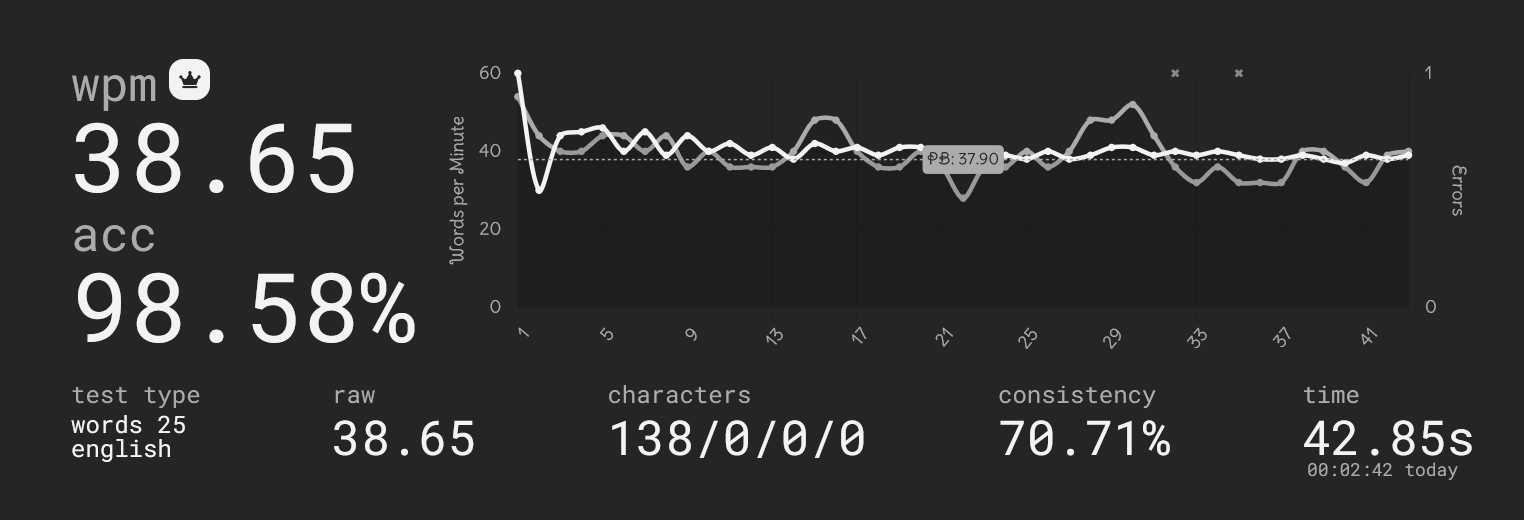
5t4n5-48 Keyboard Typing Progress 38.65 WPM

There are a few niggles that i’m going to iron out in the Rev-2, but for now i’m really pleased with the improvement over the Lily58.

I’ll keep y’all up to date with my progress.

Bye for now!!!
#5t4n5 #colemakdh #mechanicalkeyboards #monkeytype #5t4n548 #keebs

Lily58 Keyboard Typing Progress 30 WPM

On day 3 of my Lily58 adventure i managed to surpass 30 wpm . . .

Lily58 Keyboard Typing Progress 30 WPM

Hopefully the rest of the bits i need to finish the keyboard will arrive tomorrow.   I had to return one part from Amazon because it arrived in a used and broken state and the replacement is due to arrive tomorrow as well.   Fingers crossed the remaining stuff will all arrive good and dandy.

Bye for now!!!

#5t4n5 #colemakdh #mechanicalkeyboards #monkeytype #lily58 #keebs

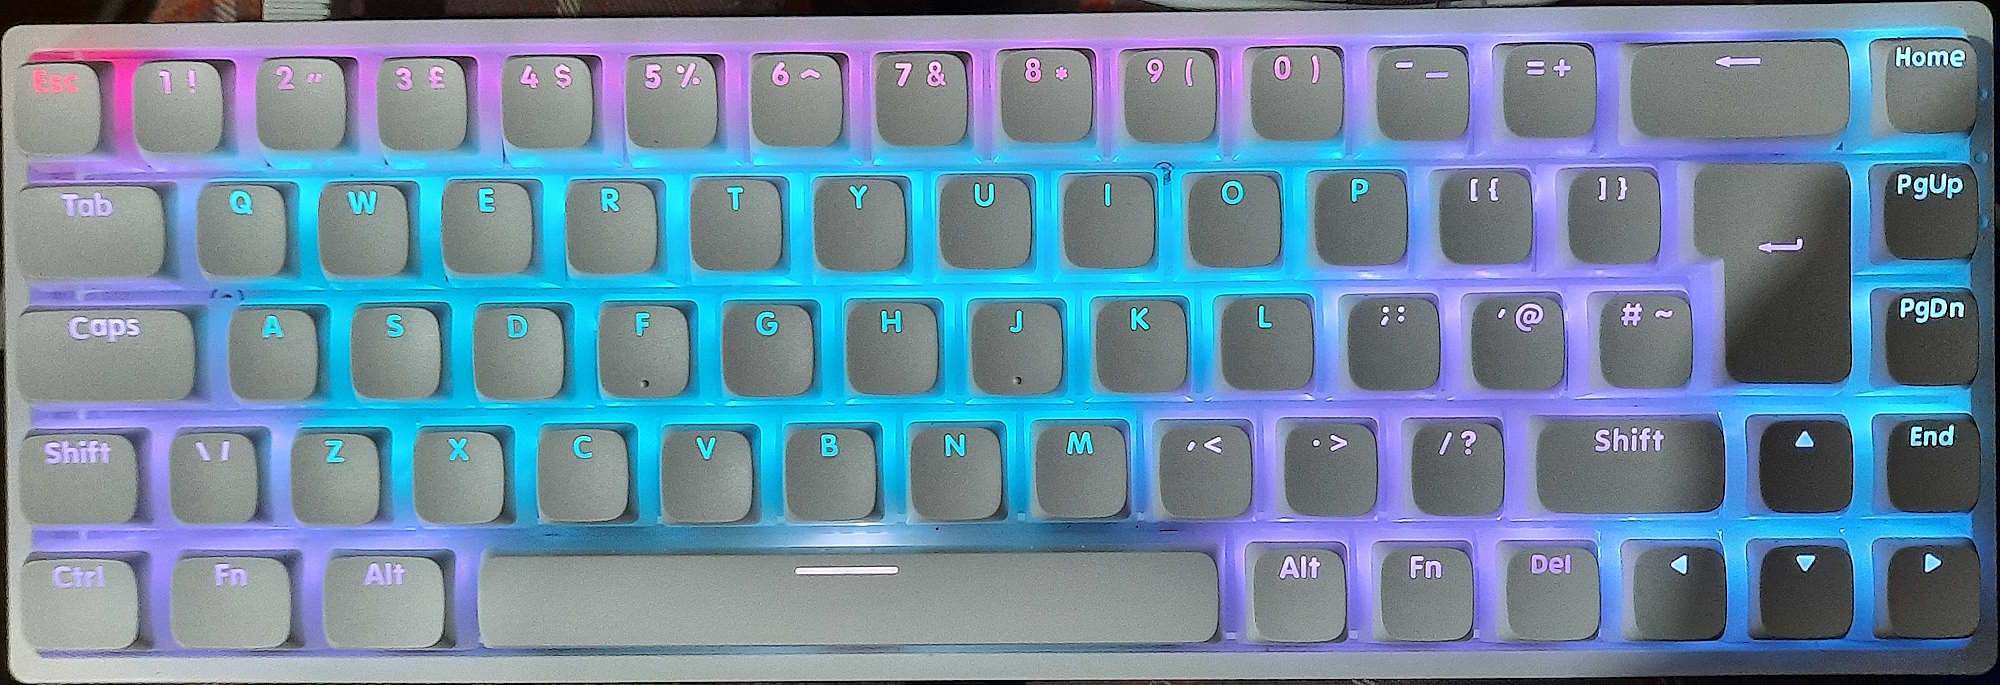
My Keyboard

Akko 3068B Plus
This is my lovely Akko 3068B Plus keyboard.   I’ve changed the stock switches to Akko Crystal Silver switches, because they activate faster and bottom out earlier, and i really didn’t like the cherry profile (or whatever that uneven profile is) of the original keycaps, so i bought these rather pretty looking XDA pudding keycaps from Ali Express at a surprisingly good price.   I love the way the pudding keycaps really make the RGB bling to the max as they have translucent sides and legends.

The faster switches and the flat profile of the XDA keycaps make this keyboard a very nice keyboard to type on.   I touch type (that’s like with all my fingers and everything, while not looking at the keyboard ever) with the keyboard sitting just about my knees and this feels just about prefect to me, your mileage may vary depending on how you type.

You can keep a check on my typing speed at this post, which i will keep updated with my progress as i get more used to this keyboard set up.

#5t4n5 #akko #mechanicalkeyboards #keebs