As the more perceptive of my (potential) 8 billion + readers will remember, a while ago i designed and built my very own fully custom bespoke keyboard, the 5t4n5-48.
While i was more than happy at my first attempt at designing and making my own keyboard, there were a few things that i wasn’t quite happy with and felt needed improving upon. So i set about the first revision, the 5t4n5-48 Rev 1 (Rhubarb and Custard).
My first task was to improve my CAD skills and design all the acrylic panels i would need cutting in .dxf format in LibreCAD. And i also needed to learn to design pcb’s in Kicad. 
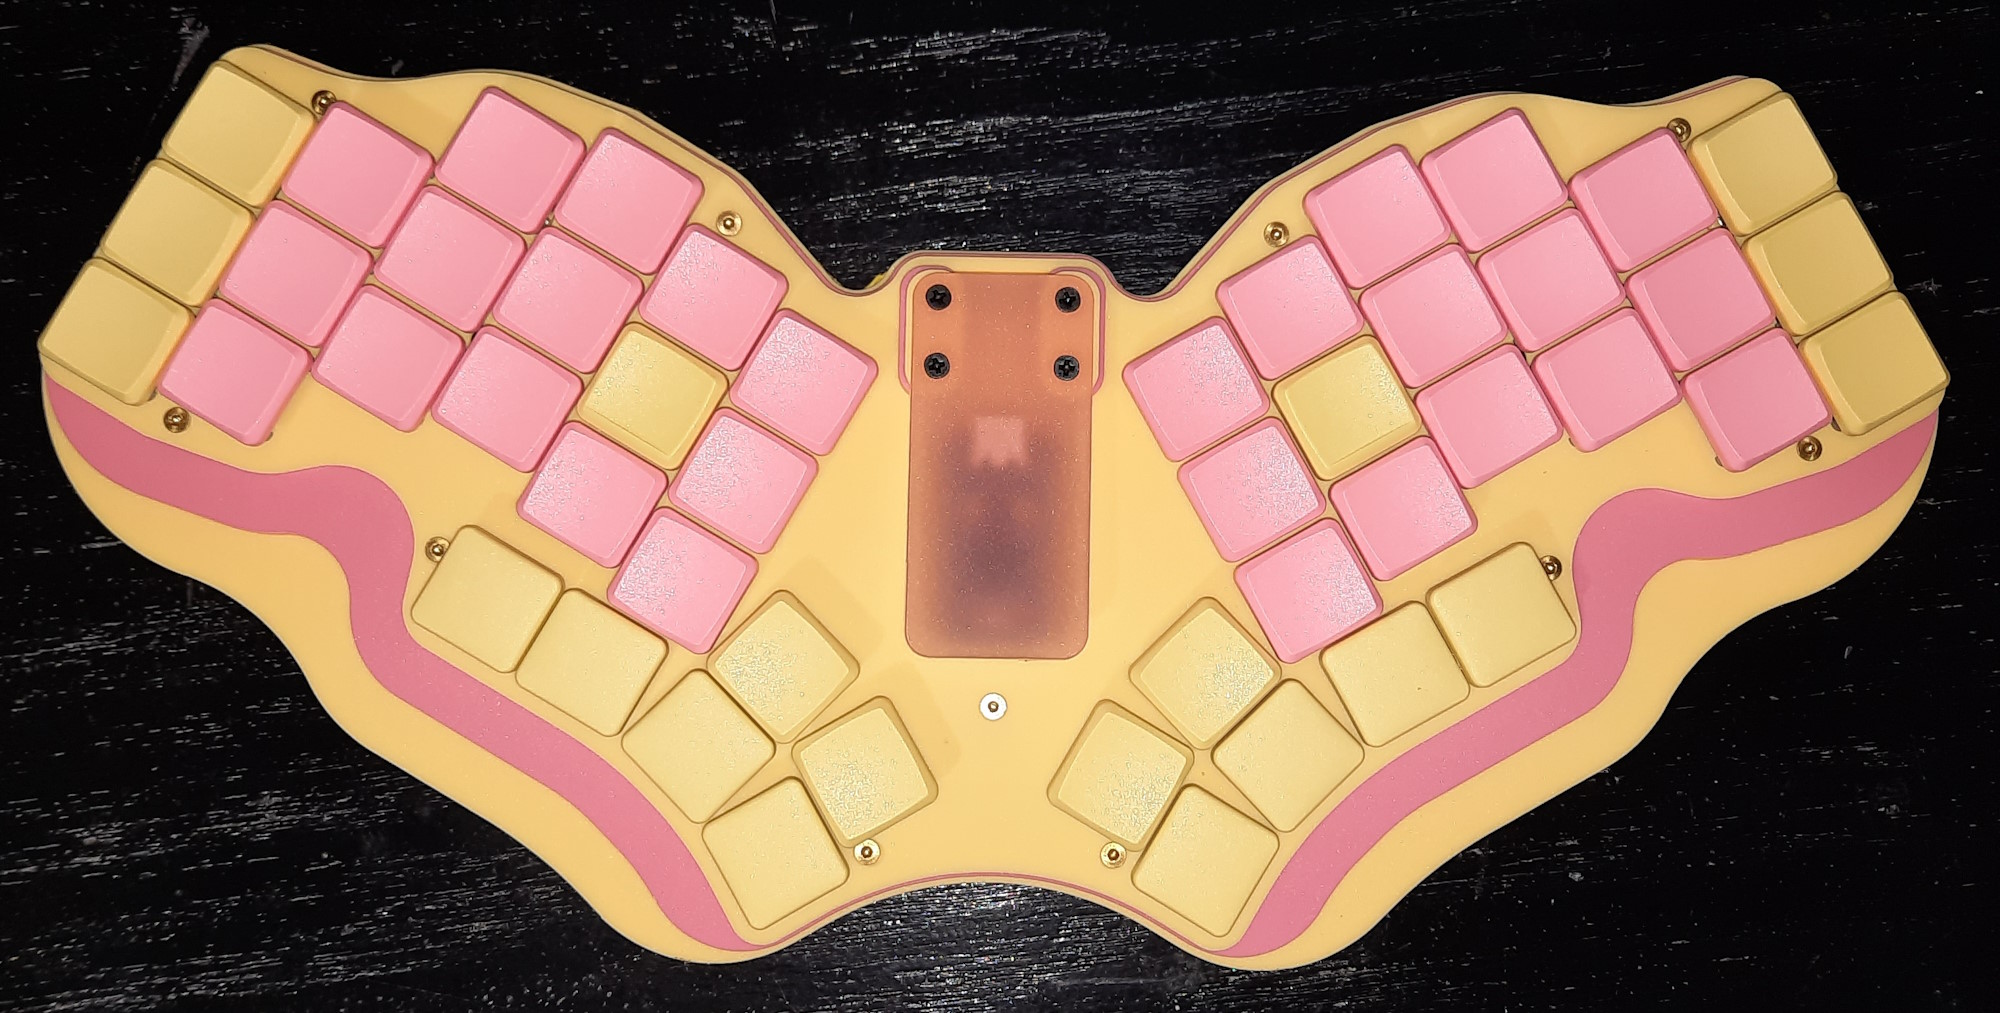
And this is what i came up with . . .
The Perspex is 3mm thick “Lemon Bonbon” and “Raspberry Sherbet”, and the cutting was done by Lasercutz. Lasercutz is a delightful company to work with if you’re looking for any laser cutting to be done, i totally recommend them.
The pcb’s were manufactured by PCBWay, which are also a great company if you’re wanting a small batch of prototype pcb’s making without spending a small fortune.
So with all my bits manufactured and delivered, i set about with the assembly.
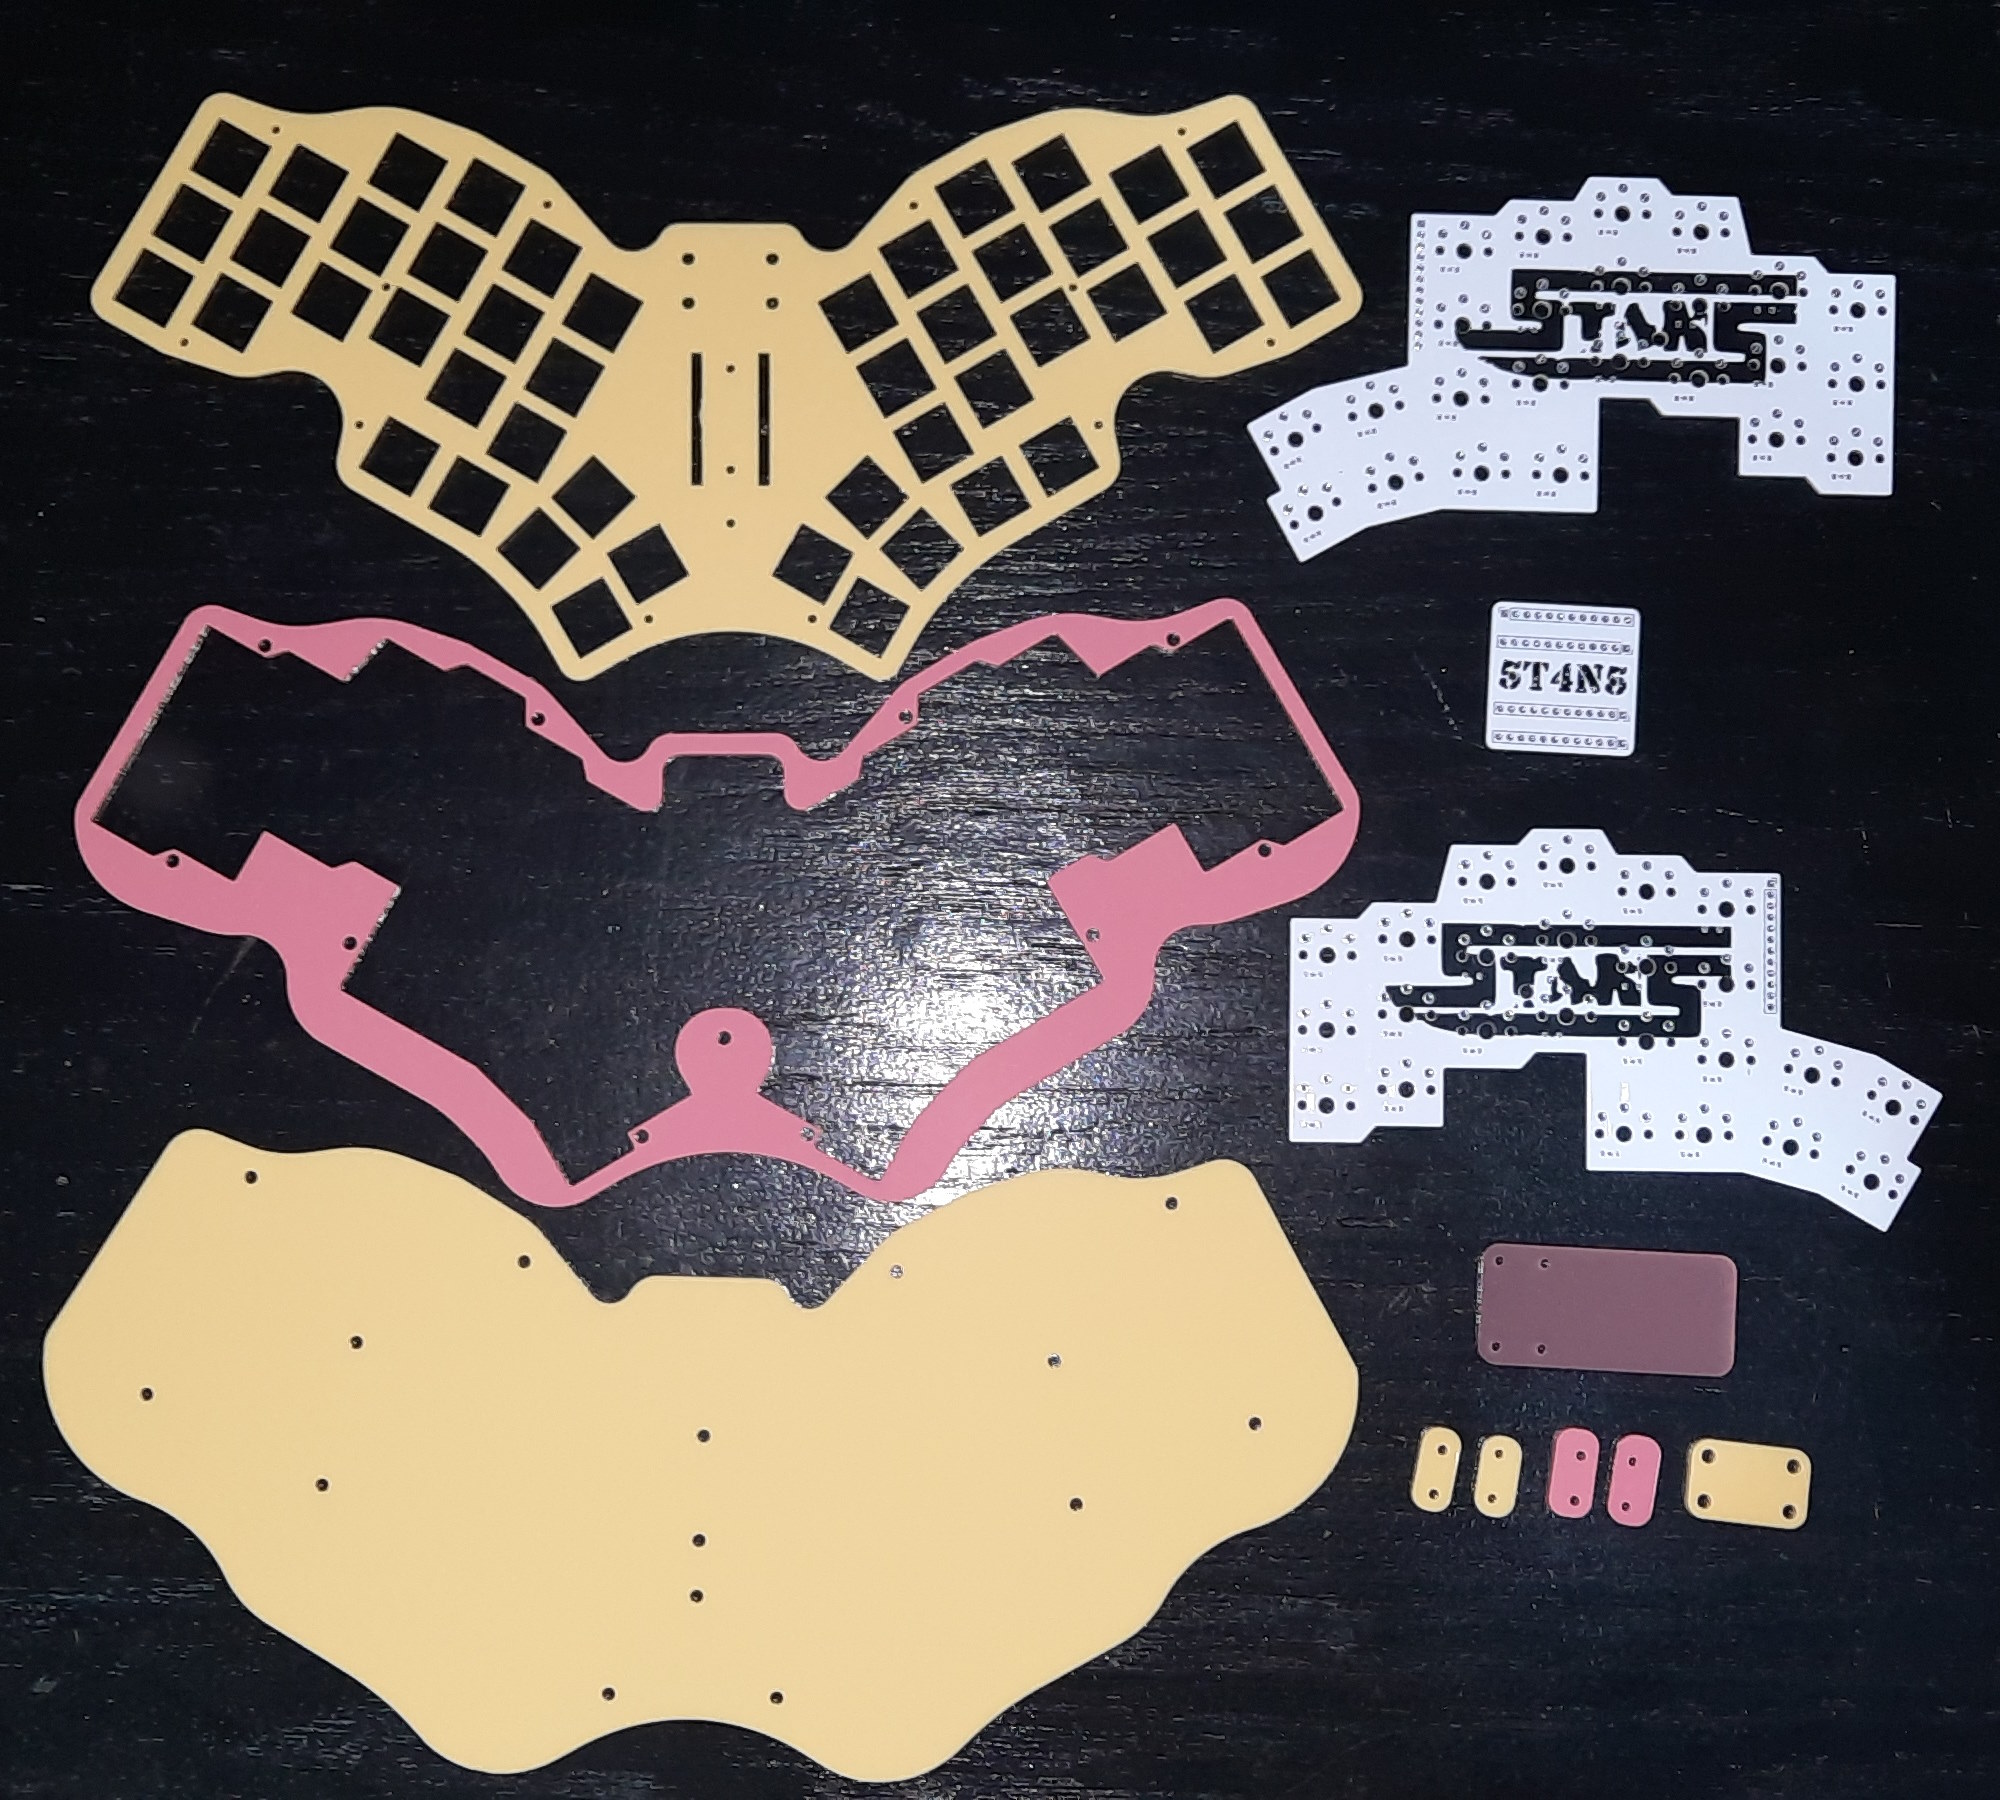
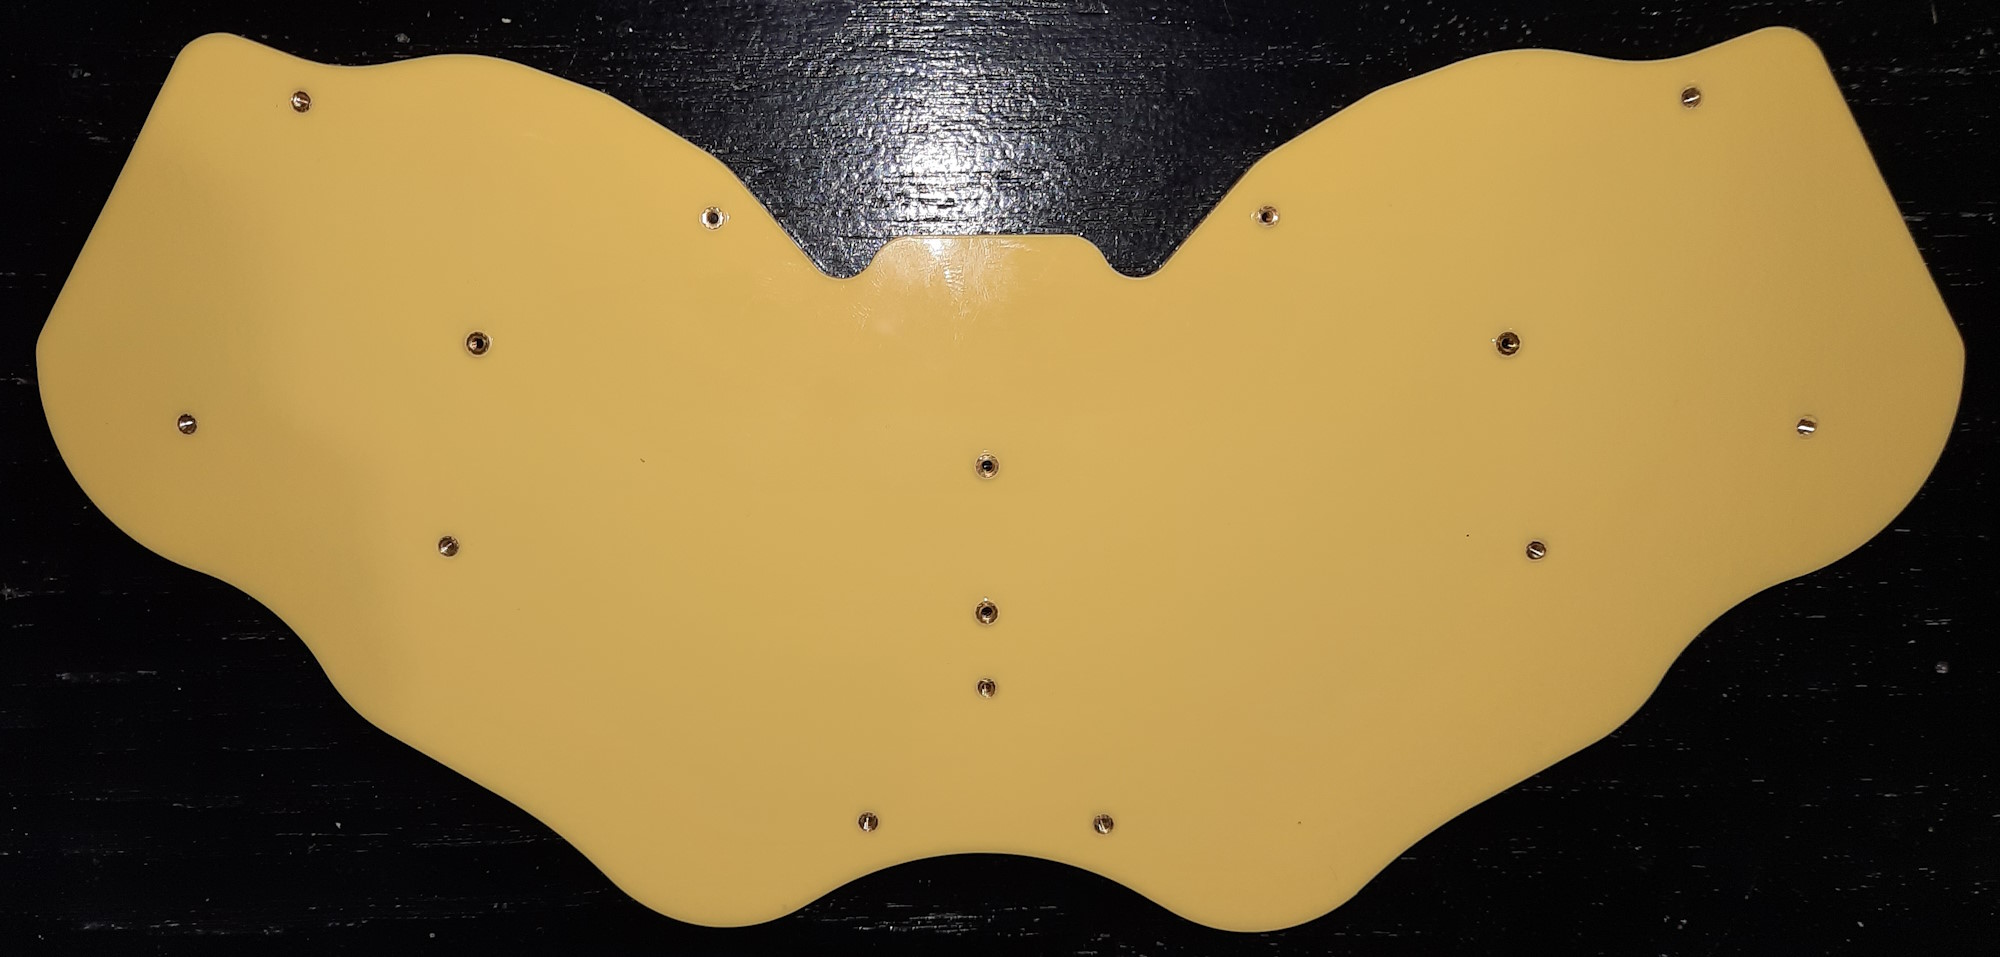
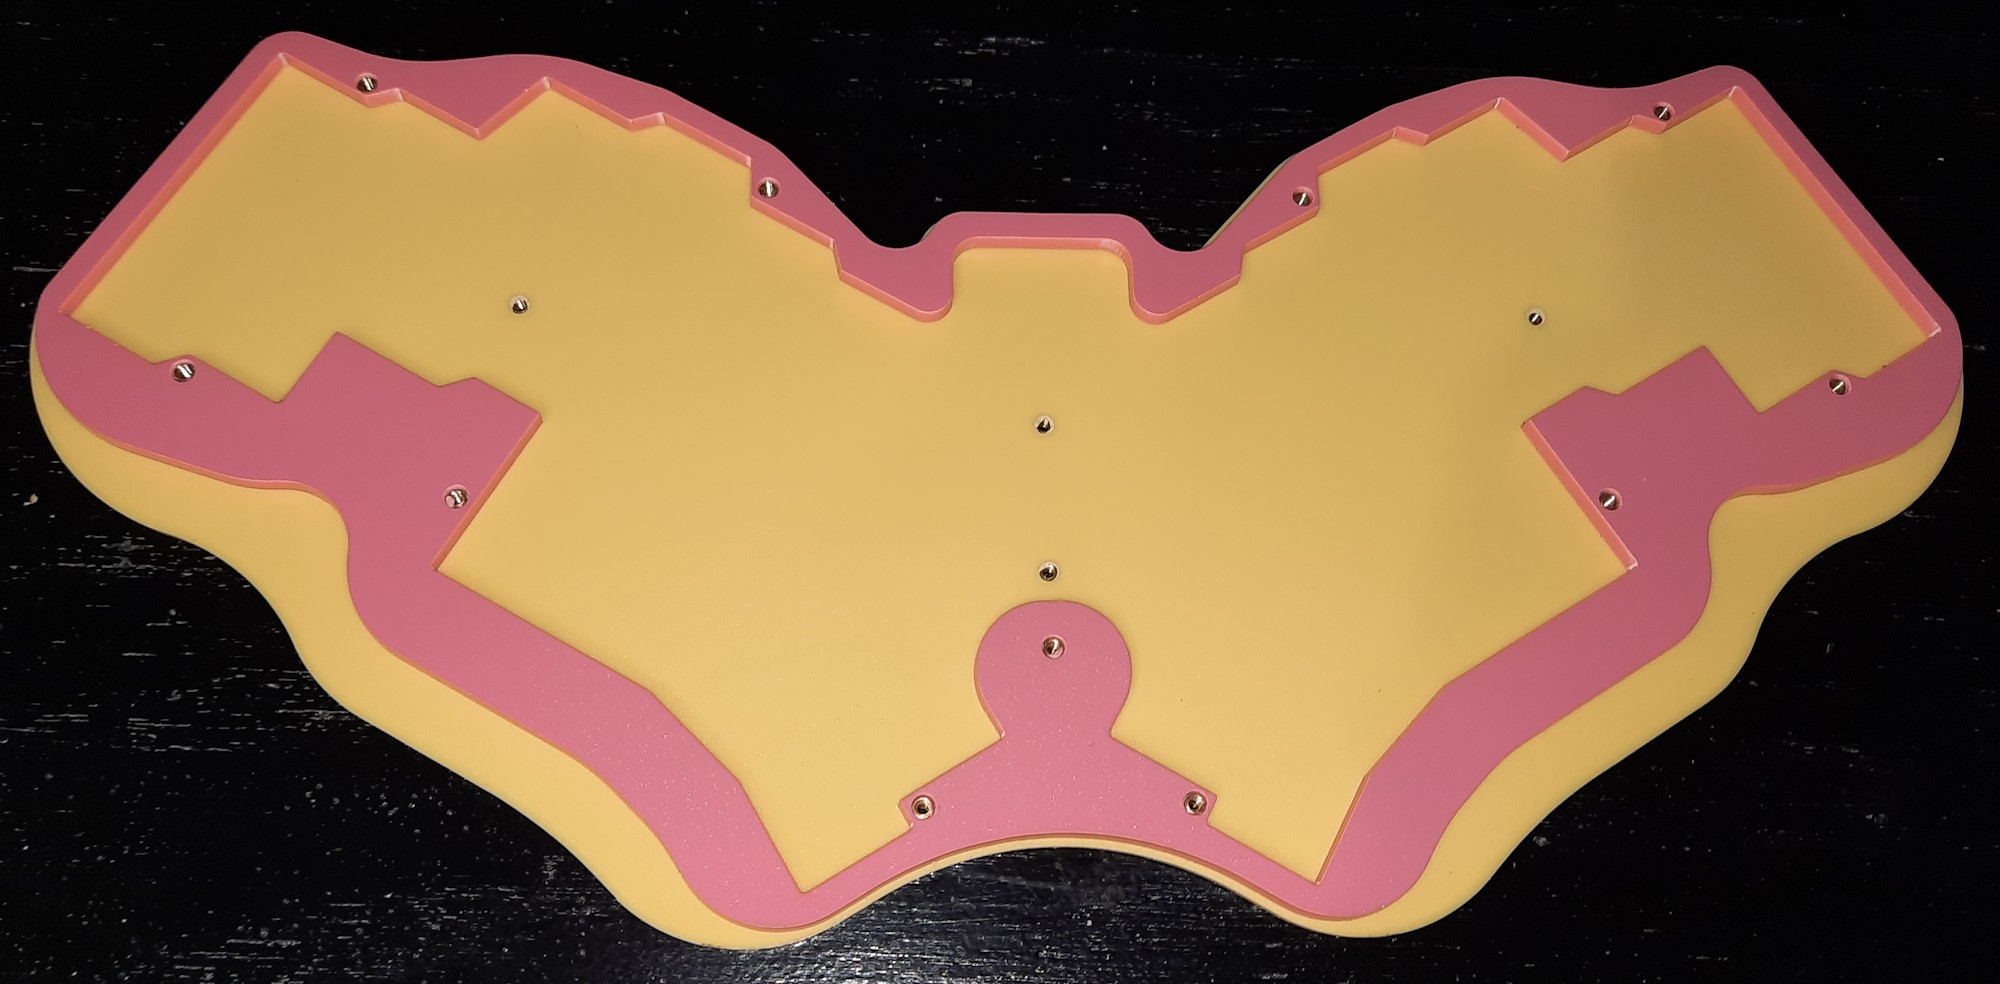
First thing was to insert four M2 x 3mm brass heat-set inserts into the bottom plate. It was important to use 3mm long inserts in the 3mm Perspex so that they didn’t protrude on the upper side as the pcb’s will be directly above these four inserts with bolts going through holes in the pcb’s, and you don’t want brass inserts shorting out anything on the pcb’s.

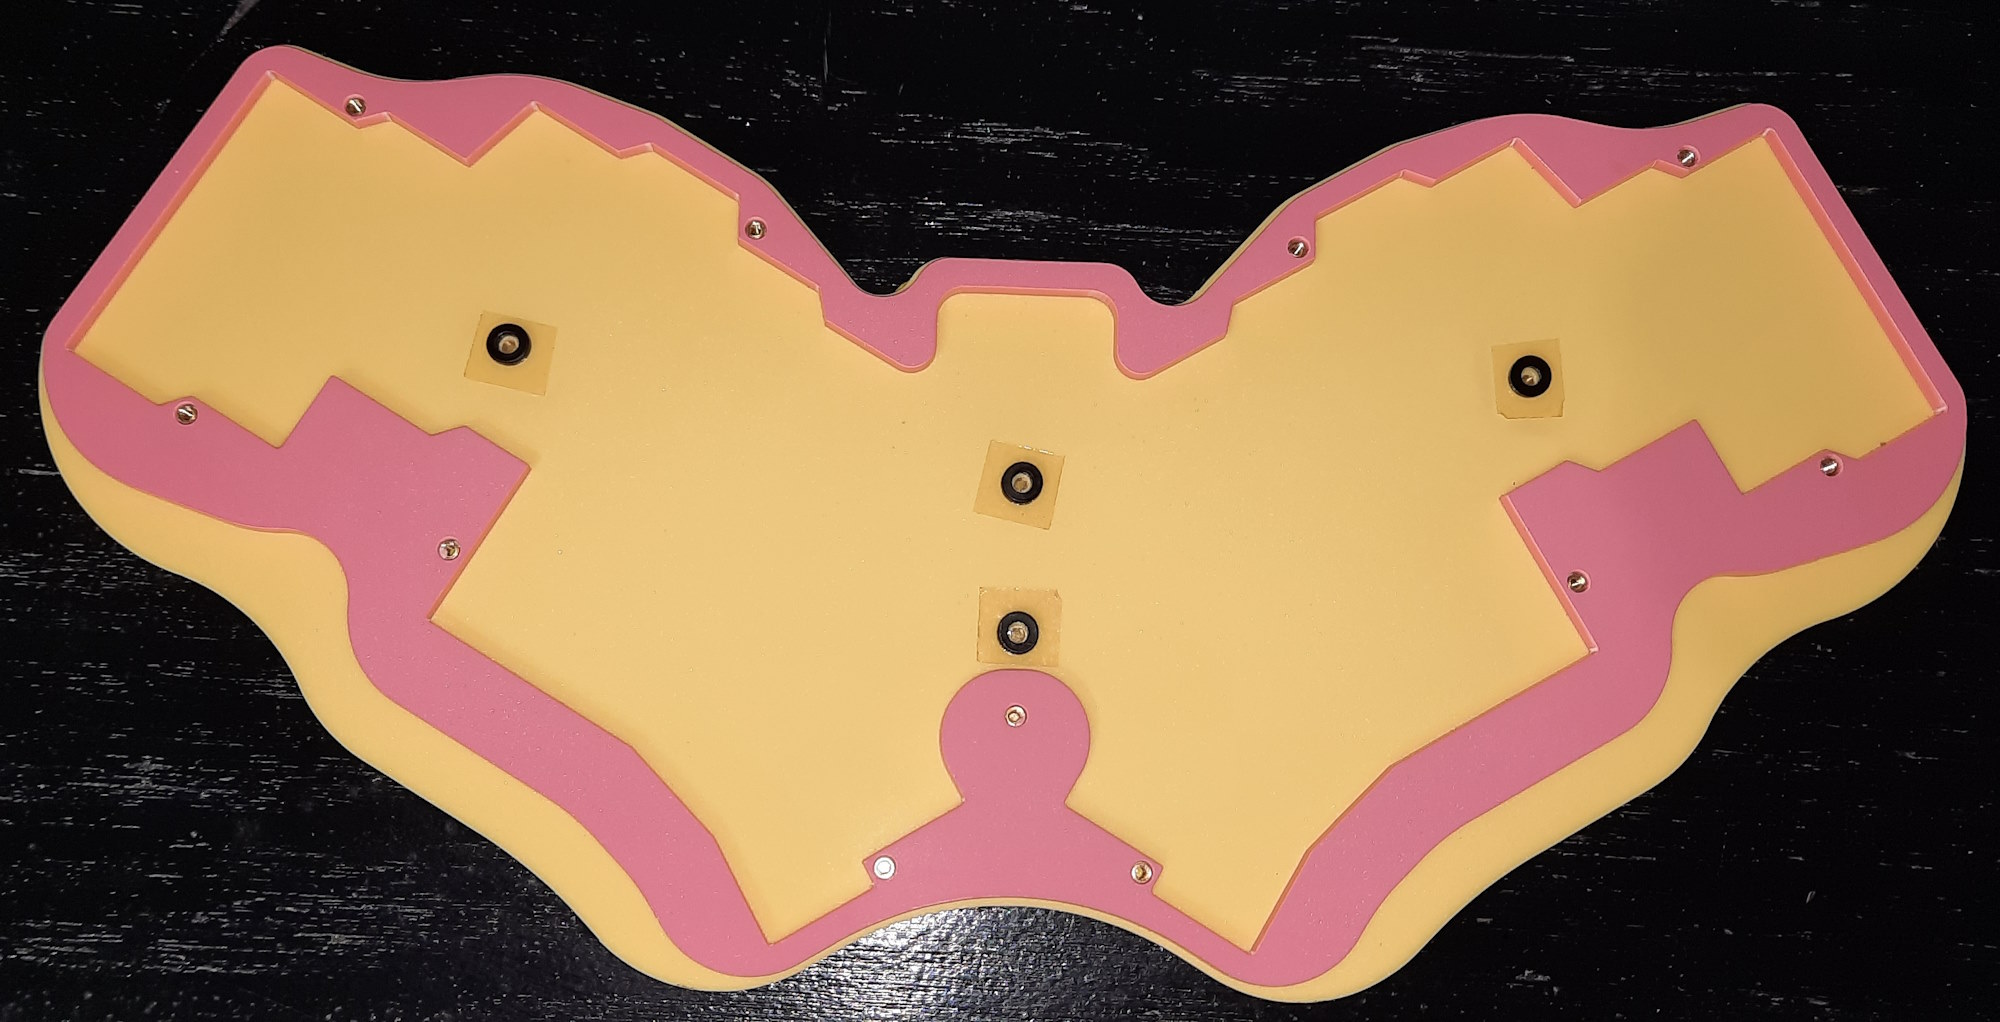
The other holes have M2 x 5mm inserts put into them . . .
. . . but these are done with the centre plate in place so that the inserts stick the two plates together and align them perfectly to each other . . .
Then add some plastic washers to add a bit of support behind the pcb’s when it all gets bolted together . . .
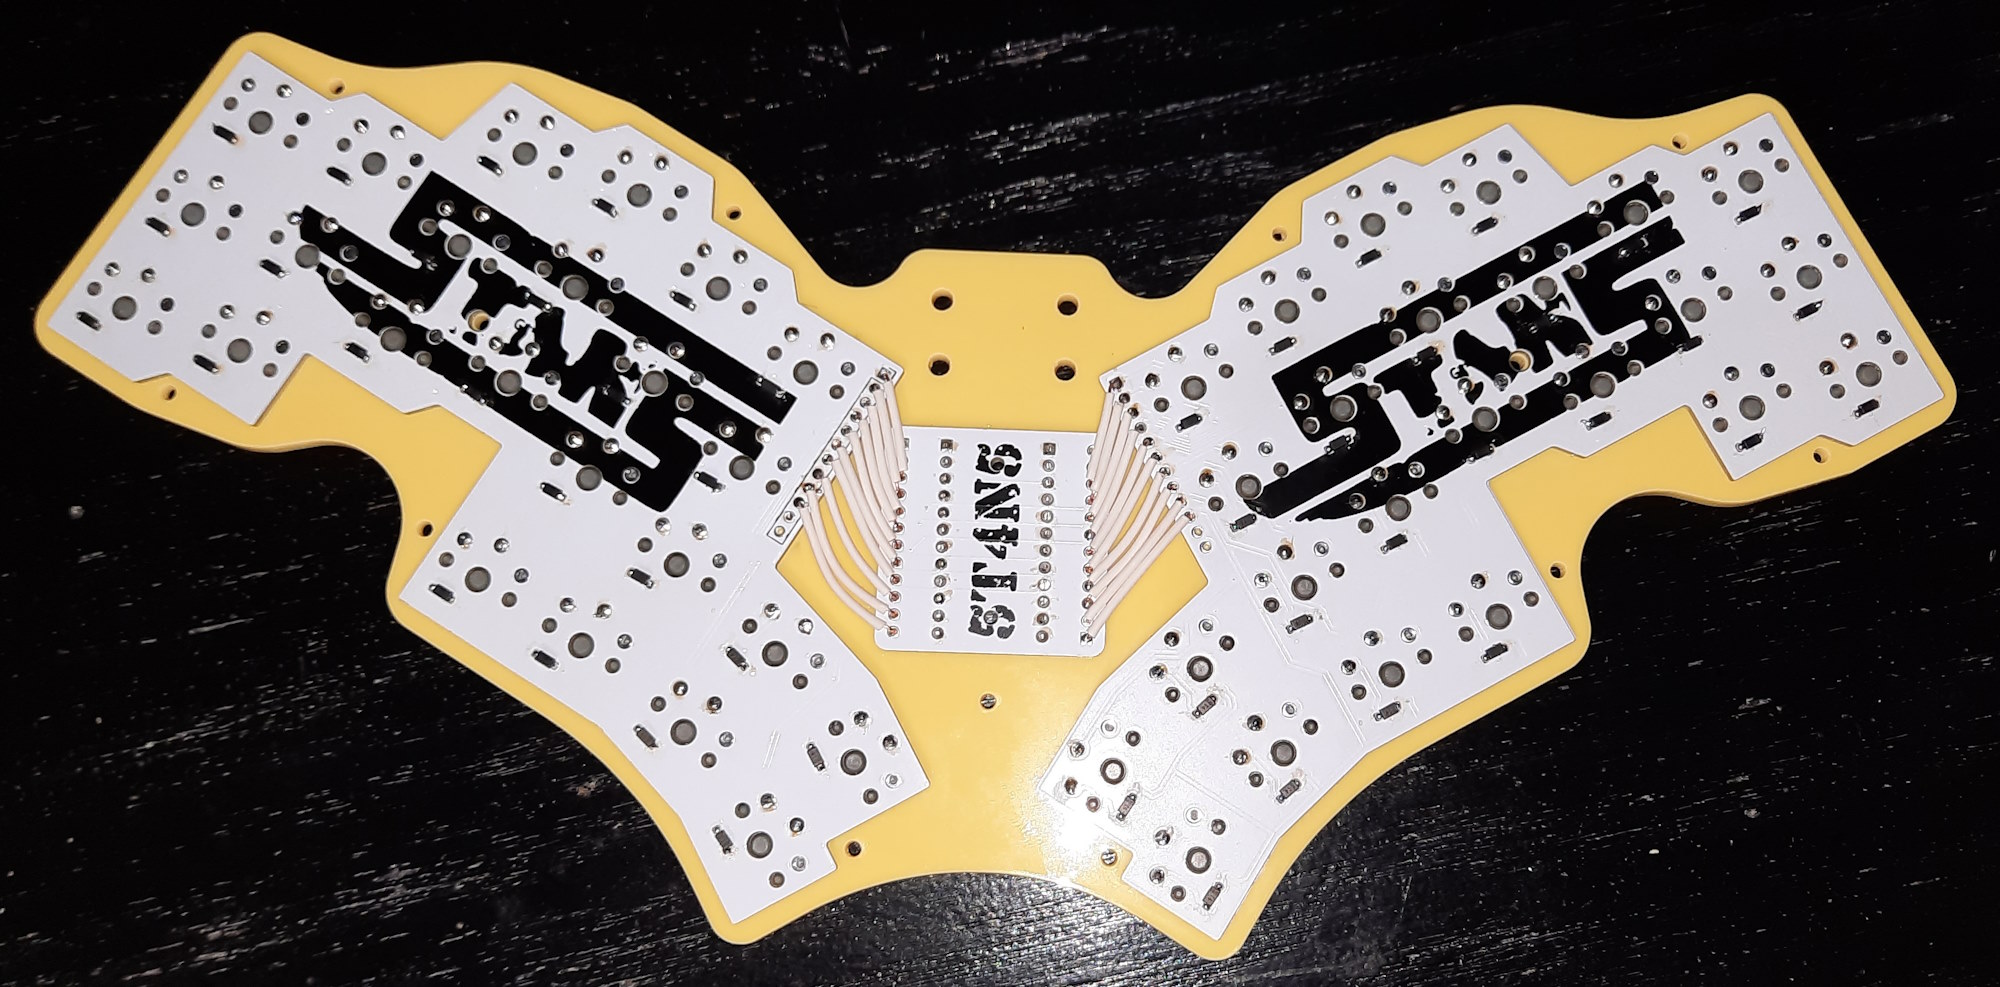
Once that was done it was soldering the surface-mount diodes and the jumper leads onto the pcb’s . . .
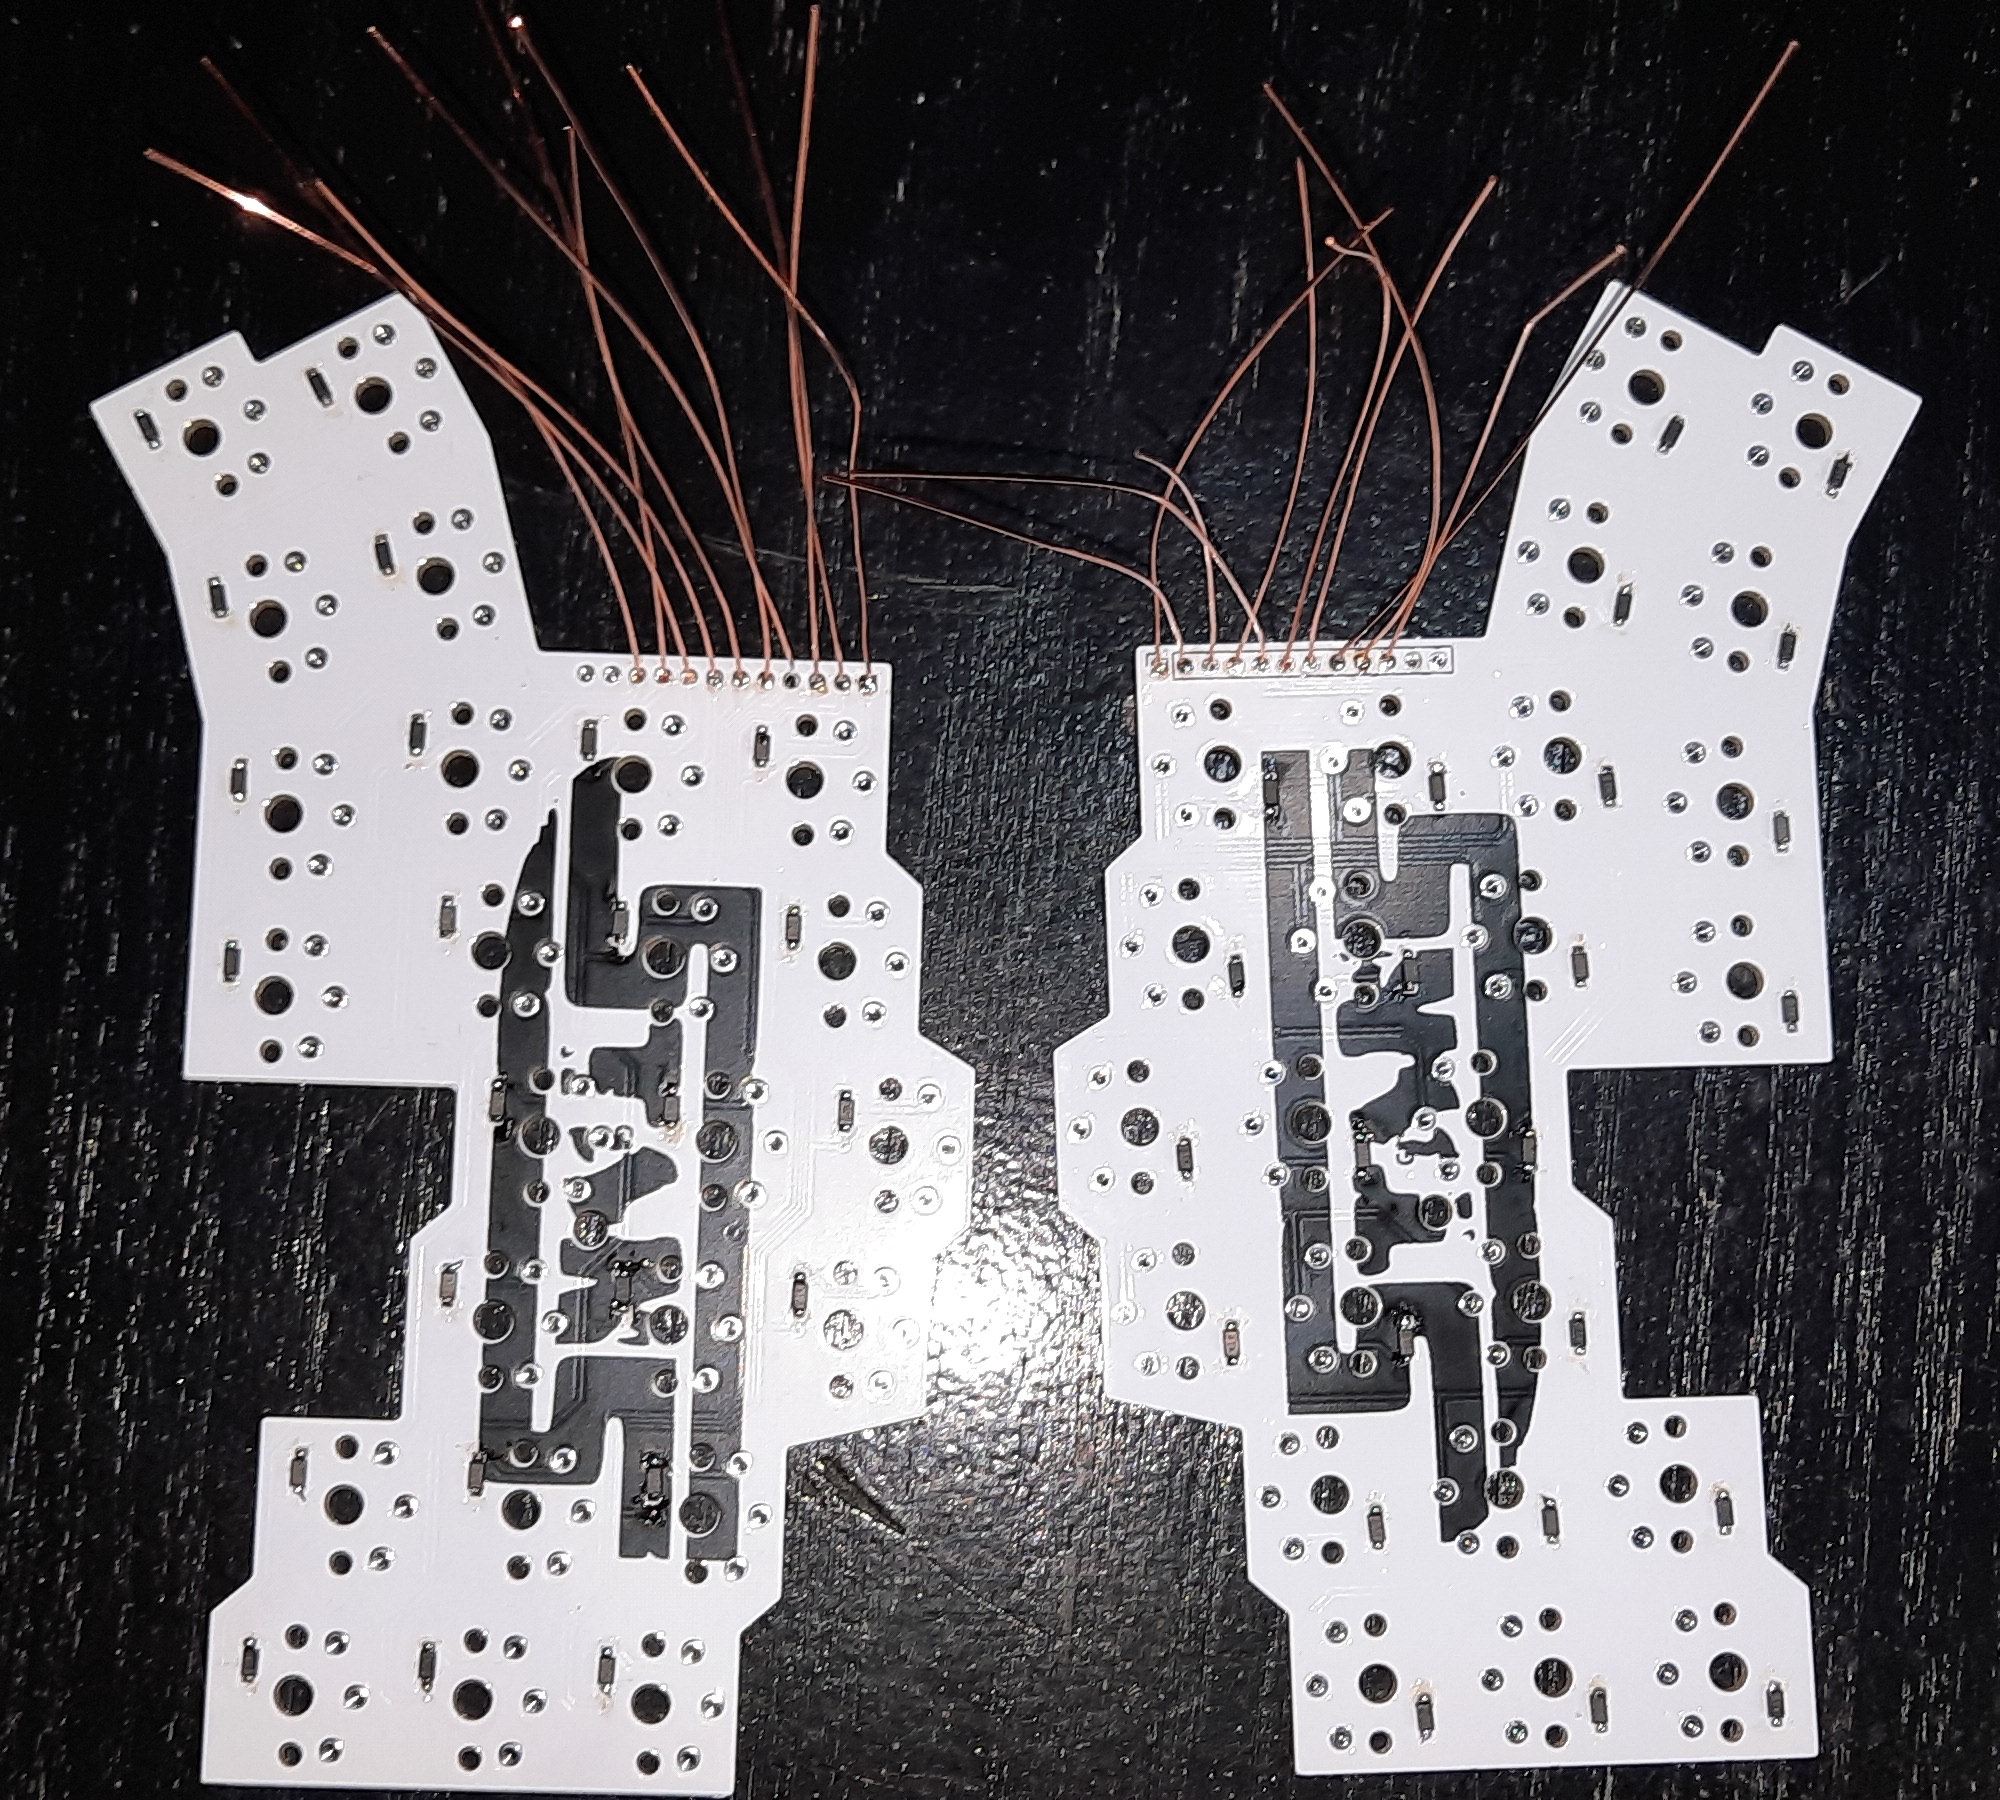
And then solder the jumper leads onto the controller pcb . . .
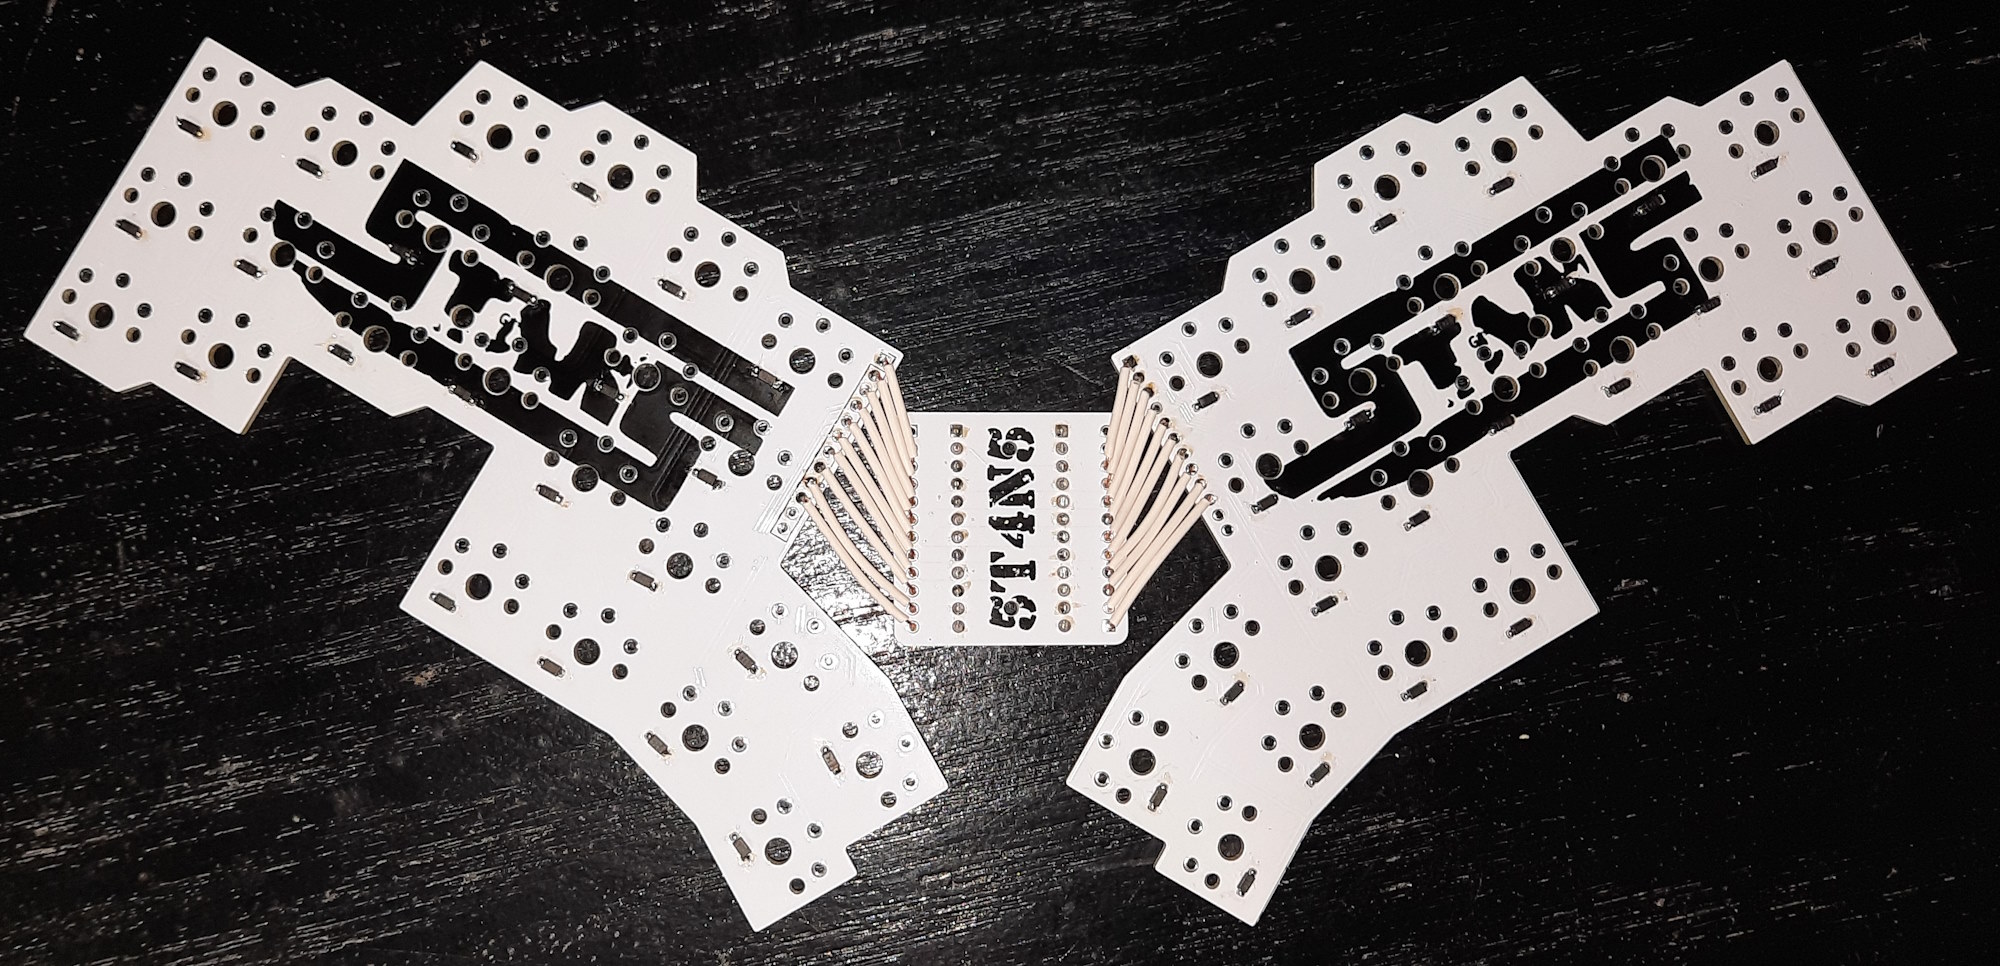
Now some of you may be wondering why i didn’t just have one complete pcb made instead of using three seperate pieces: which is a totally valid wondering. Well, it’s because the minimum pcb’s you can order is 5 and i didn’t want to spend over £70 for one prototype keyboard, so i created a reversable pcb (that works on both sides) for the switches and had 5 of those made, plus 5 of the small controller pcb’s, which was much cheaper. I therefore have enough left to make one more keyboard at some point in the future (plus a spare if i need to replace one at some point), and maybe once i sort out the QMK thing i might get some full pcb’s made to offer them for sale if there’s any interest — so let me know if you are interested.
Next up was to countersink the 2mm holes in the upper plate which i did with a dremel using a Double Cut Tungsten Steel Rotary Burr bit that i got in a set off Amazon.
Then push all the Kailh Choc Pro Pink switches (which i bought from Mechboards) through the front plate . . .

And solder them all into the pcb . . .
The controller is socketed in using mill-max pins and machine-pin sockets (also from Mechboards) — i forgot to take pics of that bit, sorry.
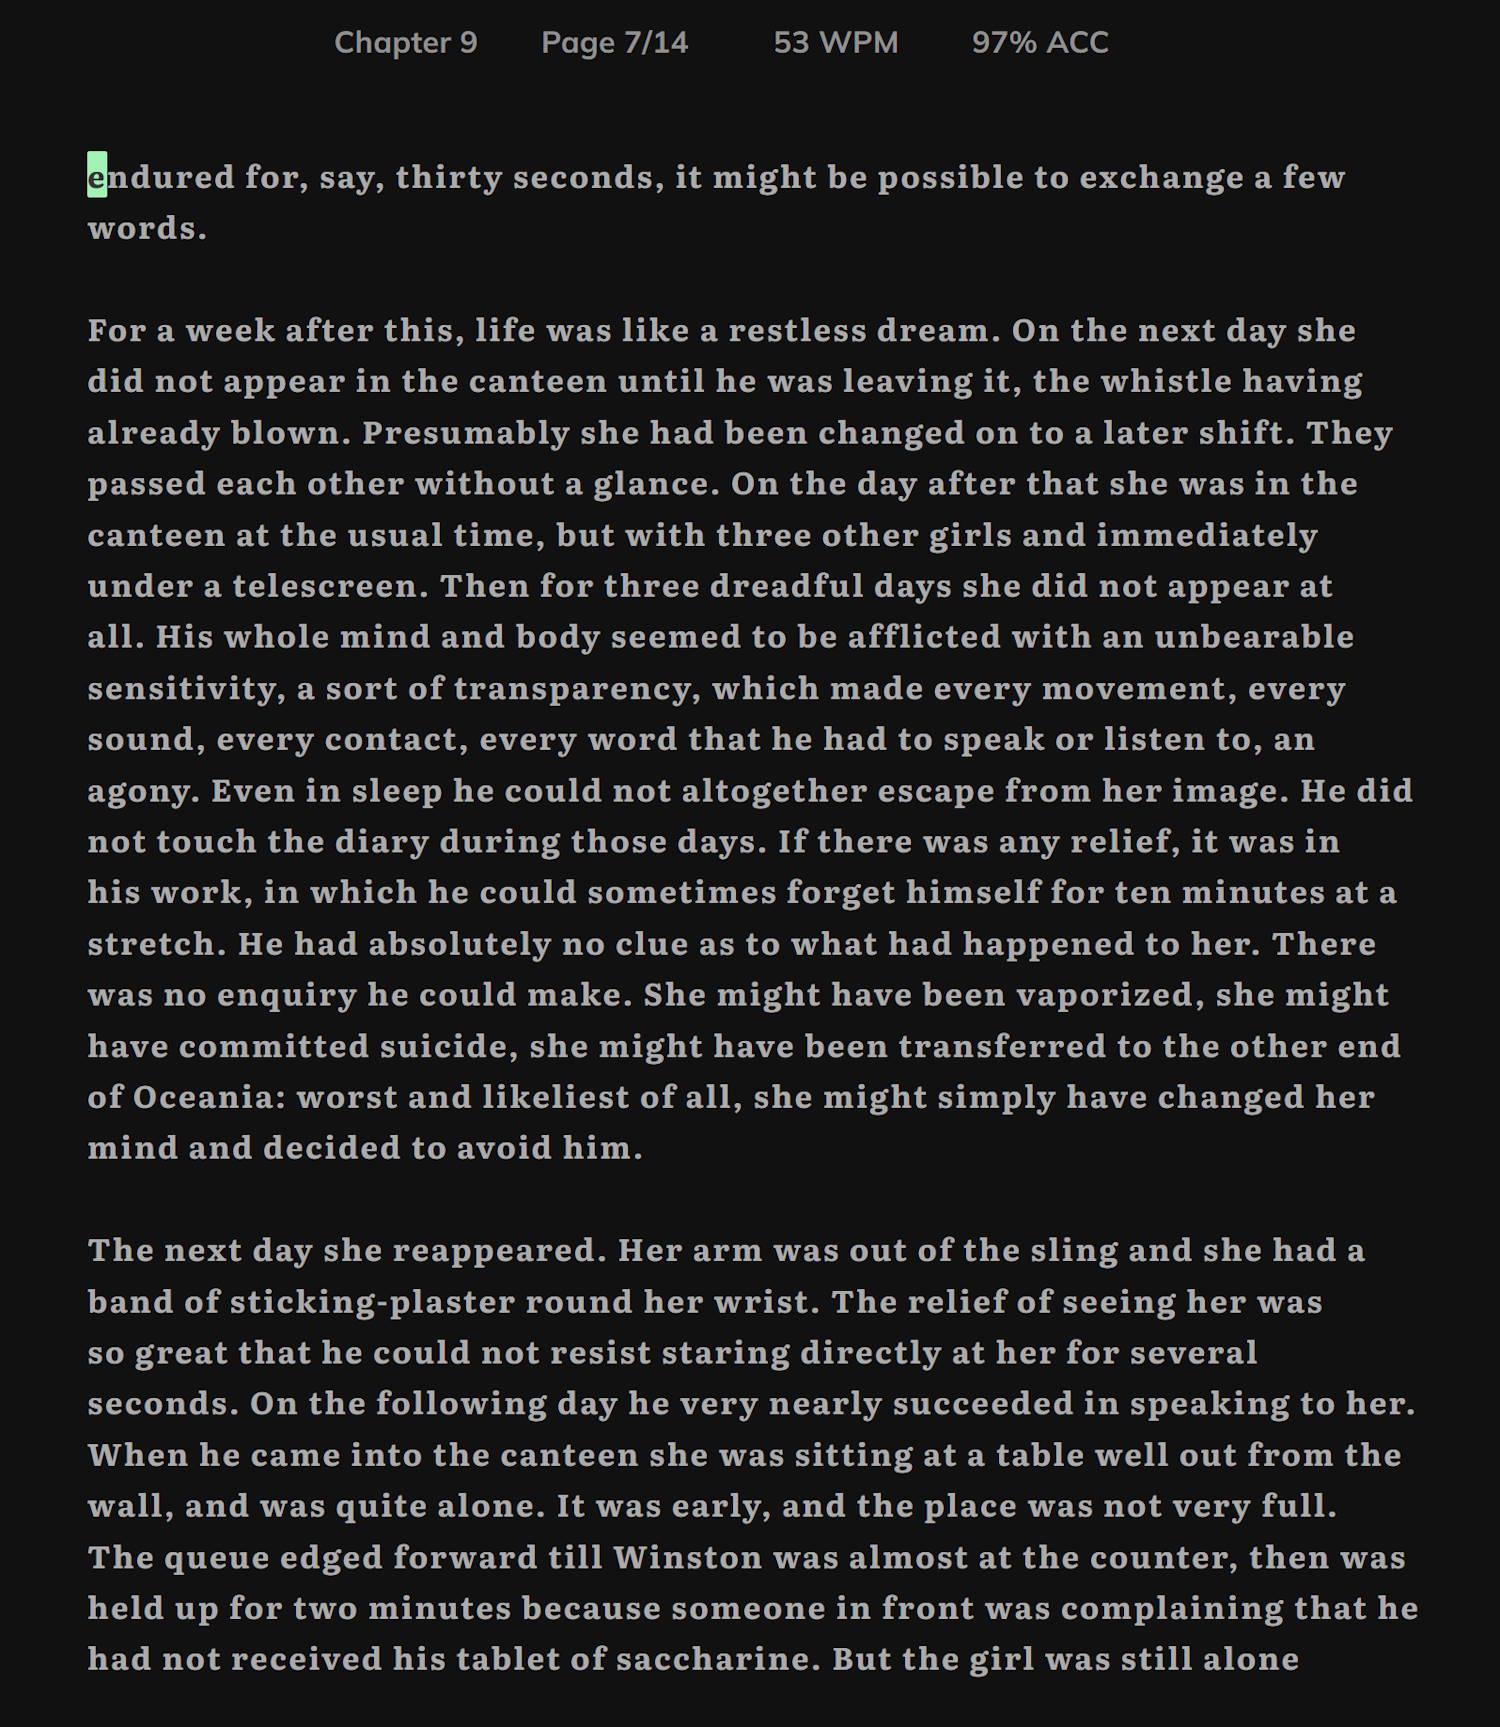
And then all that is left is to bolt it all together and put in the keycaps (which i bought from splitkb.com) . . .
And then figure out how to program it. Which will be the topic of another post because this one has gone on for far too long already.
Until then . . .
Bye for now!!!


 All copyright 2013.